
Project Portal Userguide
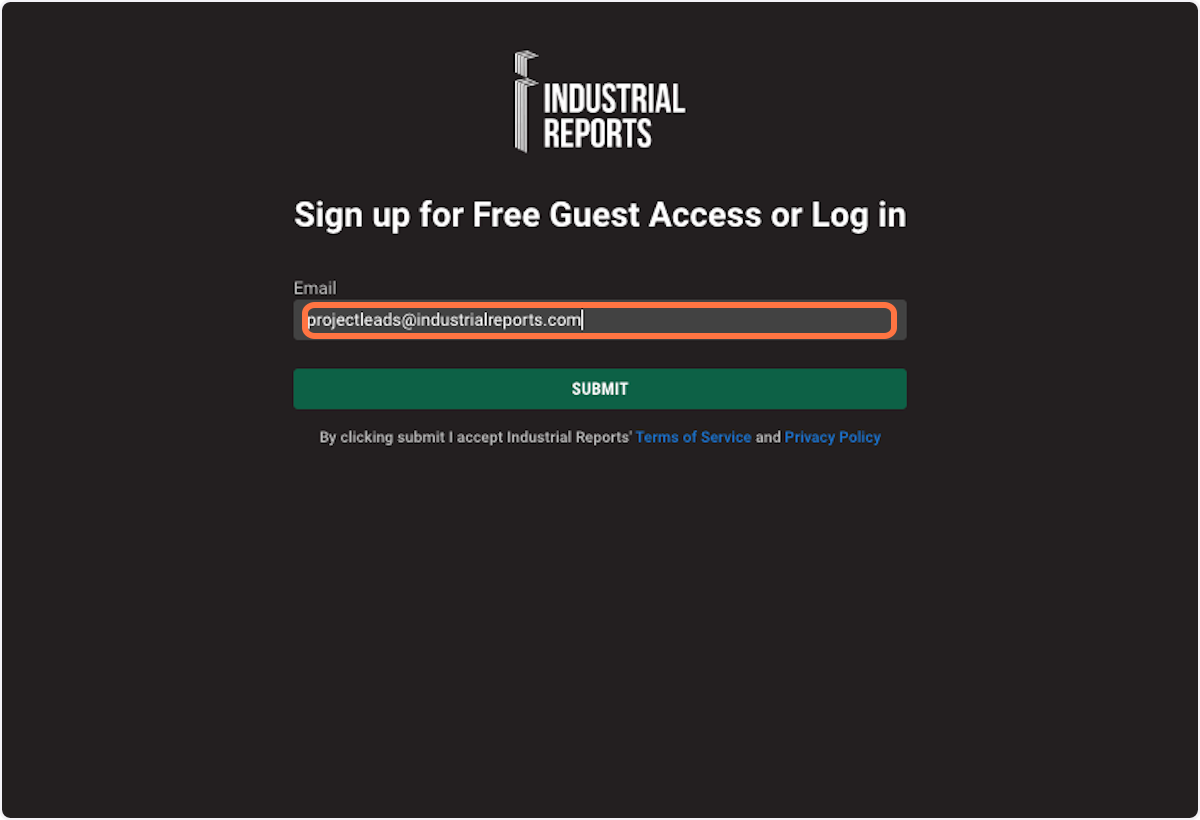
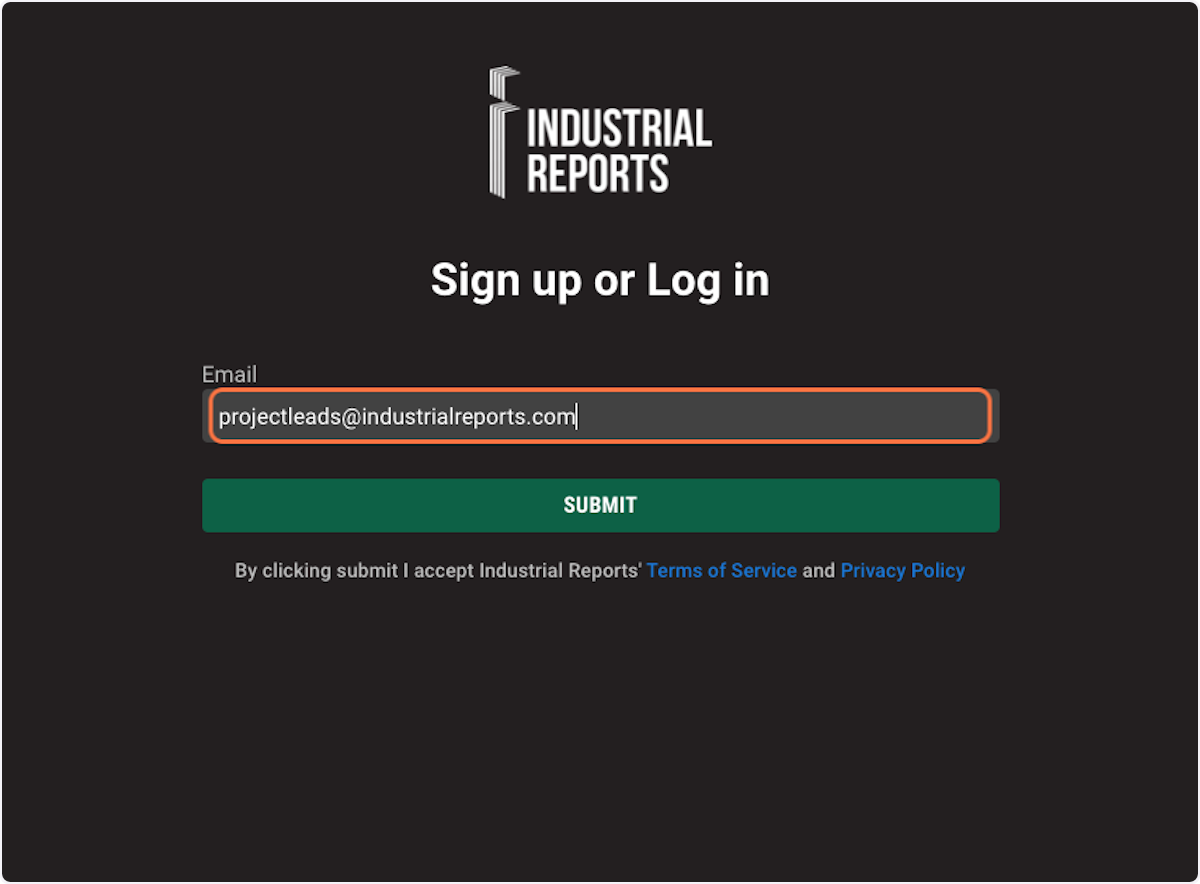
2. Enter your email address to sign up for Free Guest Access or Log in and click SUBMIT
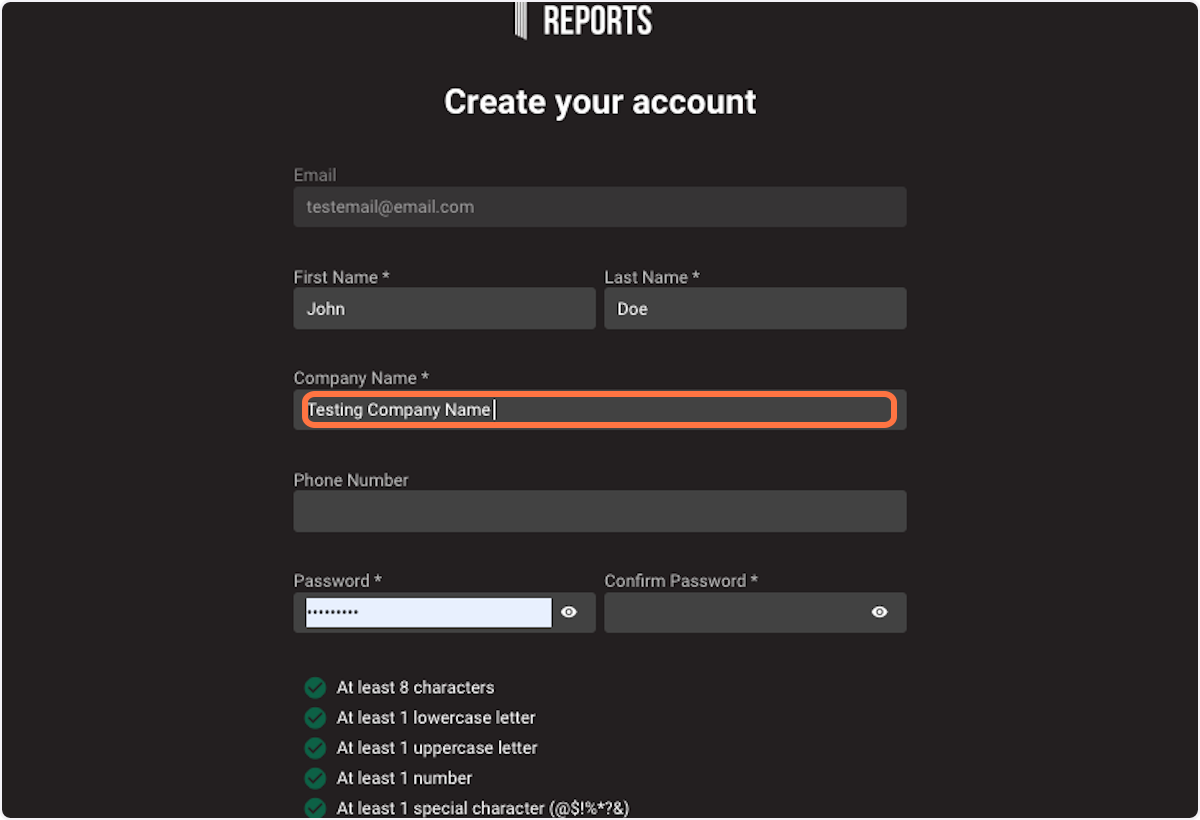
3. Enter FIRST NAME, LAST NAME, COMPANY NAME and PASSWORD, and click SUBMIT
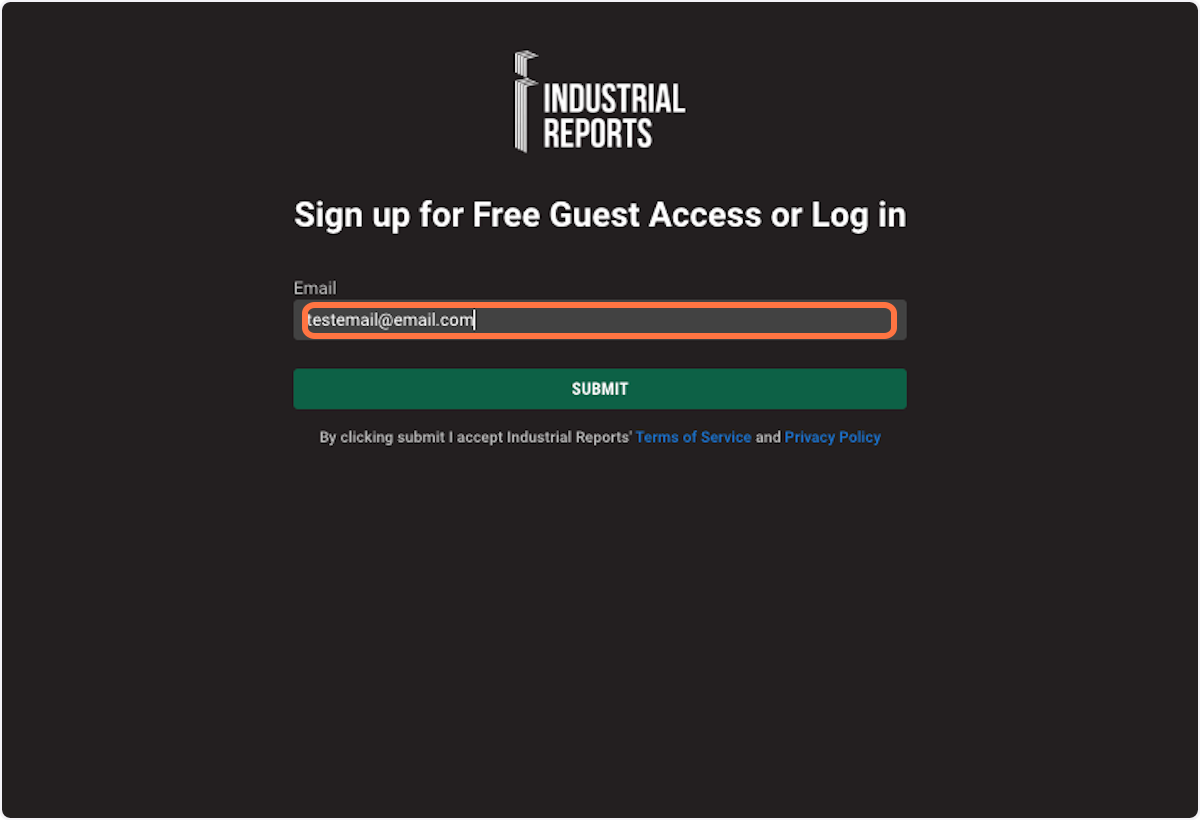
4. Now that the account is created, you can log in. Enter your email
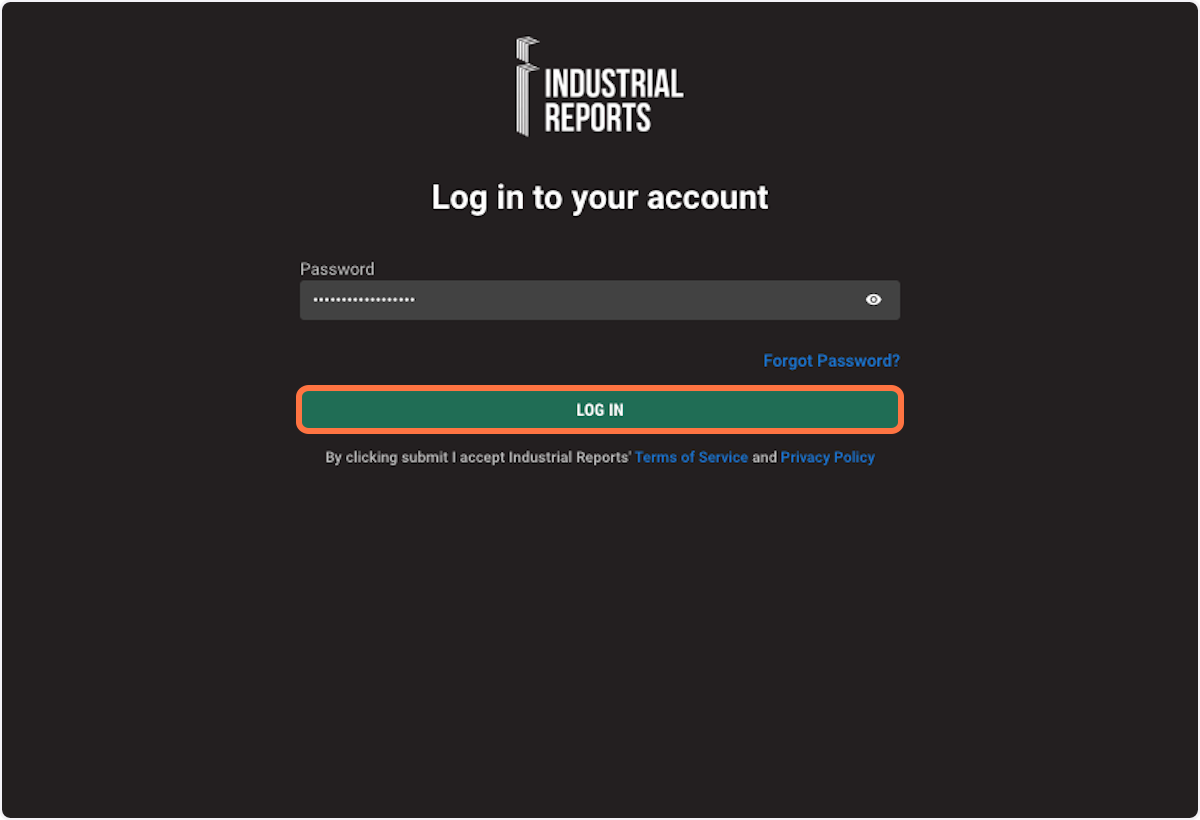
5. Enter password you just created and review the "Terms of Service" and "Privacy Policy" and click LOG IN
6. If you have more than one subscription, you can select which subscription you would like to view.

7. Once logged in, your dashboard will be displayed.

8. If you have forgotten your password, enter in your email and click submit.
9. Click "Forgot Password?"

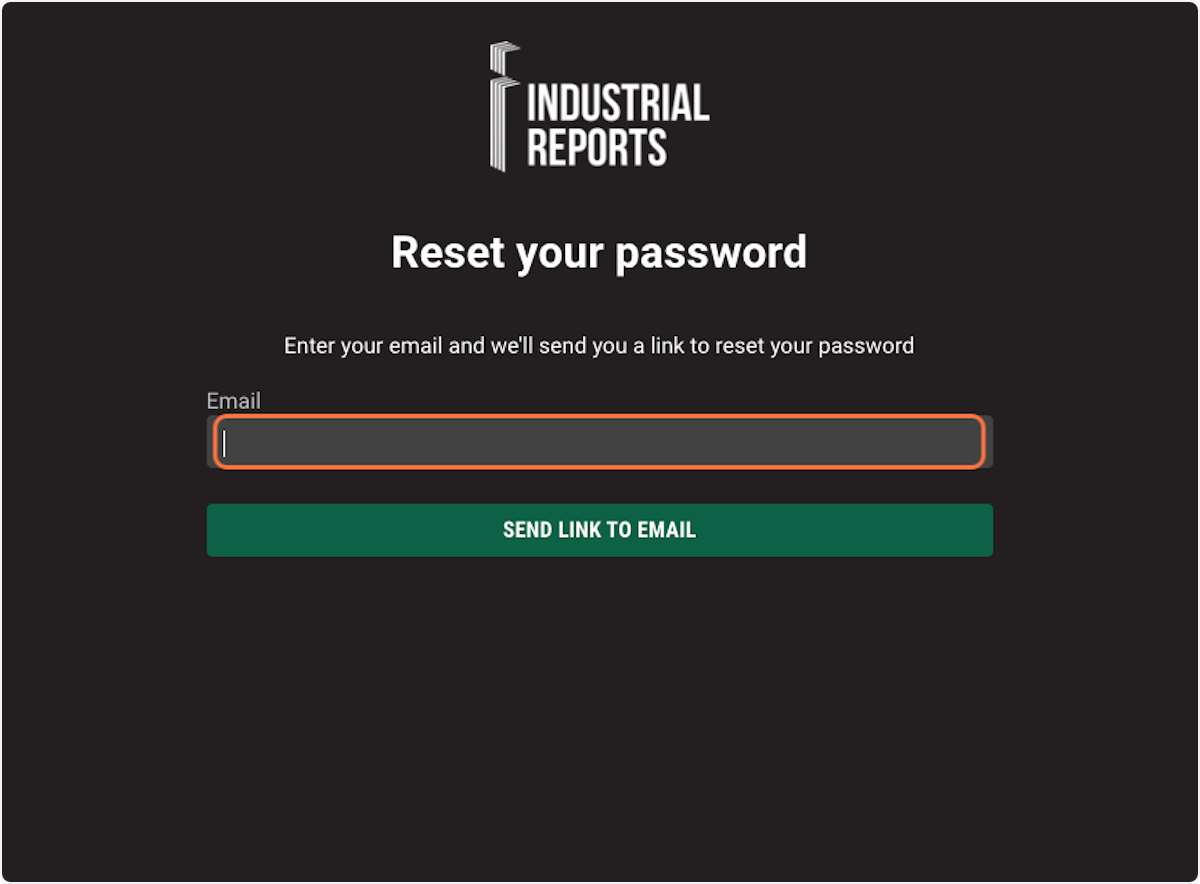
10. Enter your email address and click "Send Link to Email" to receive a time sensitive reset link.
11. Check your email inbox for the reset email. Click "Reset Password".

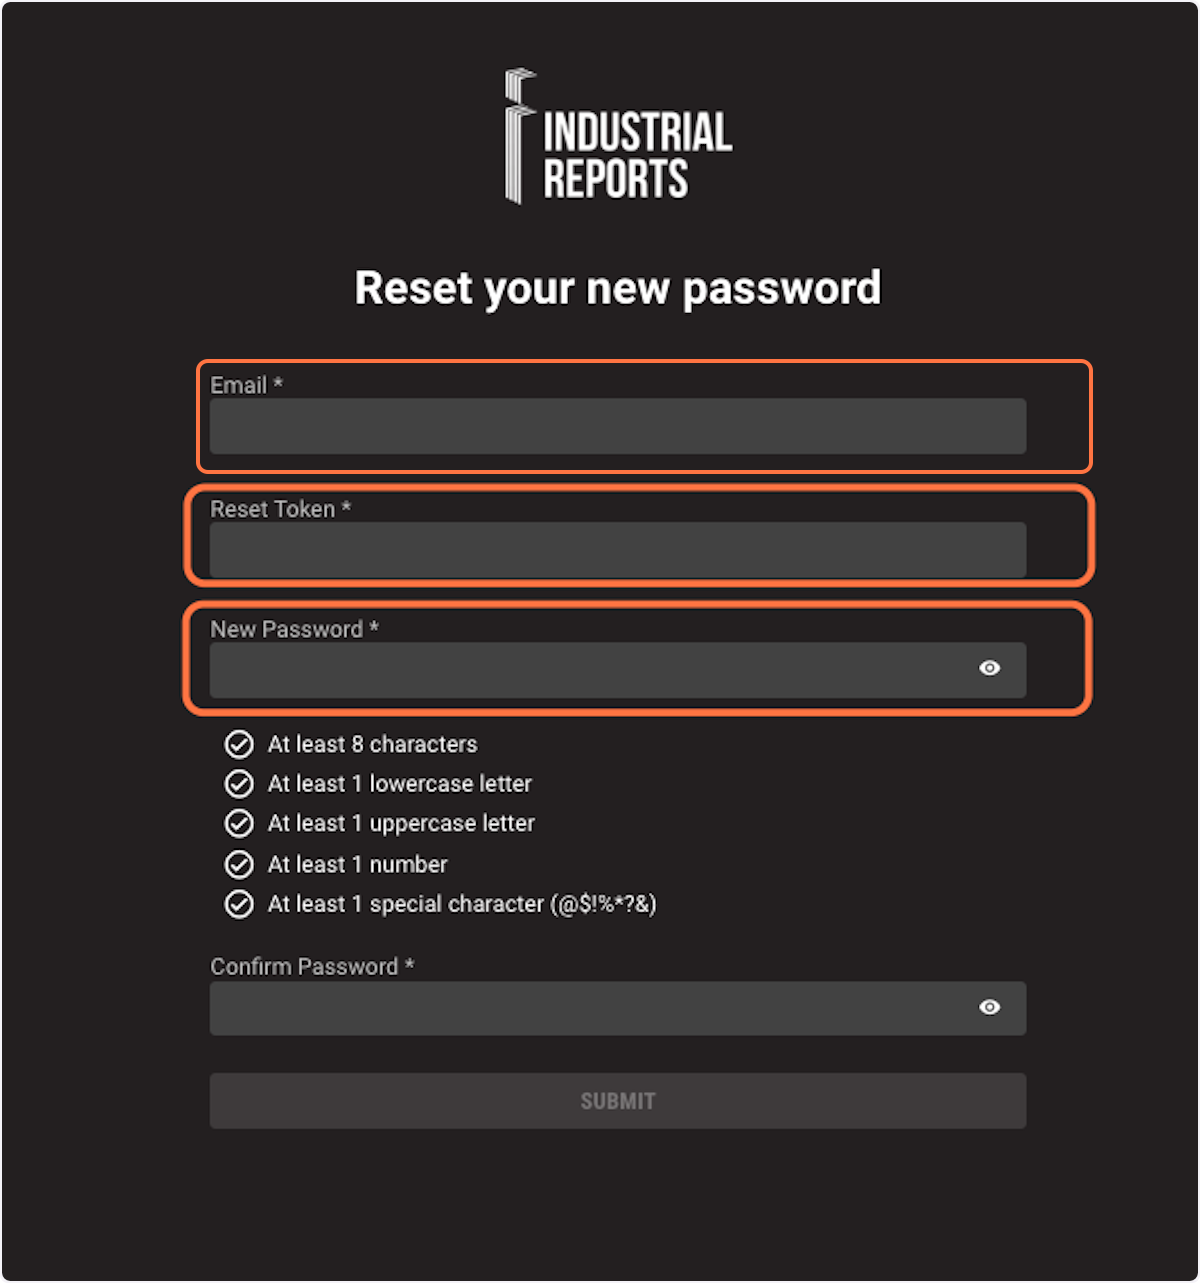
12. Enter your email address, reset token and create a new password.
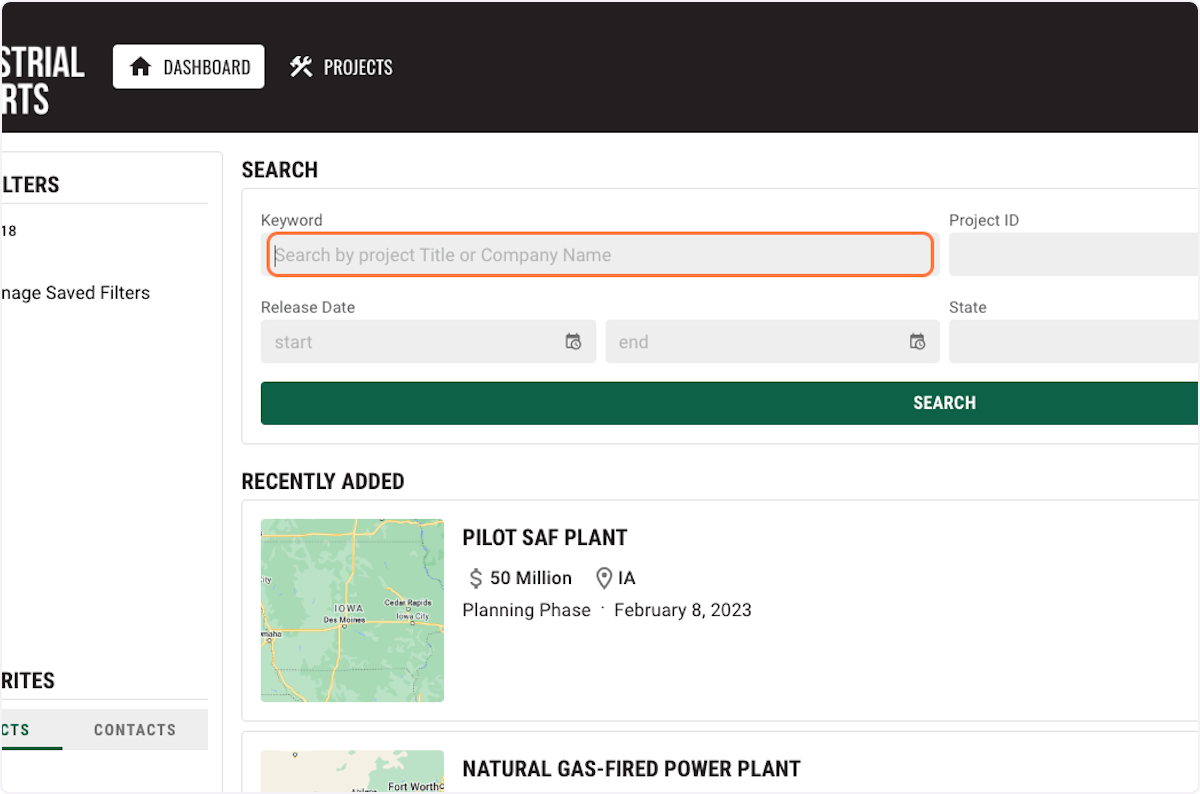
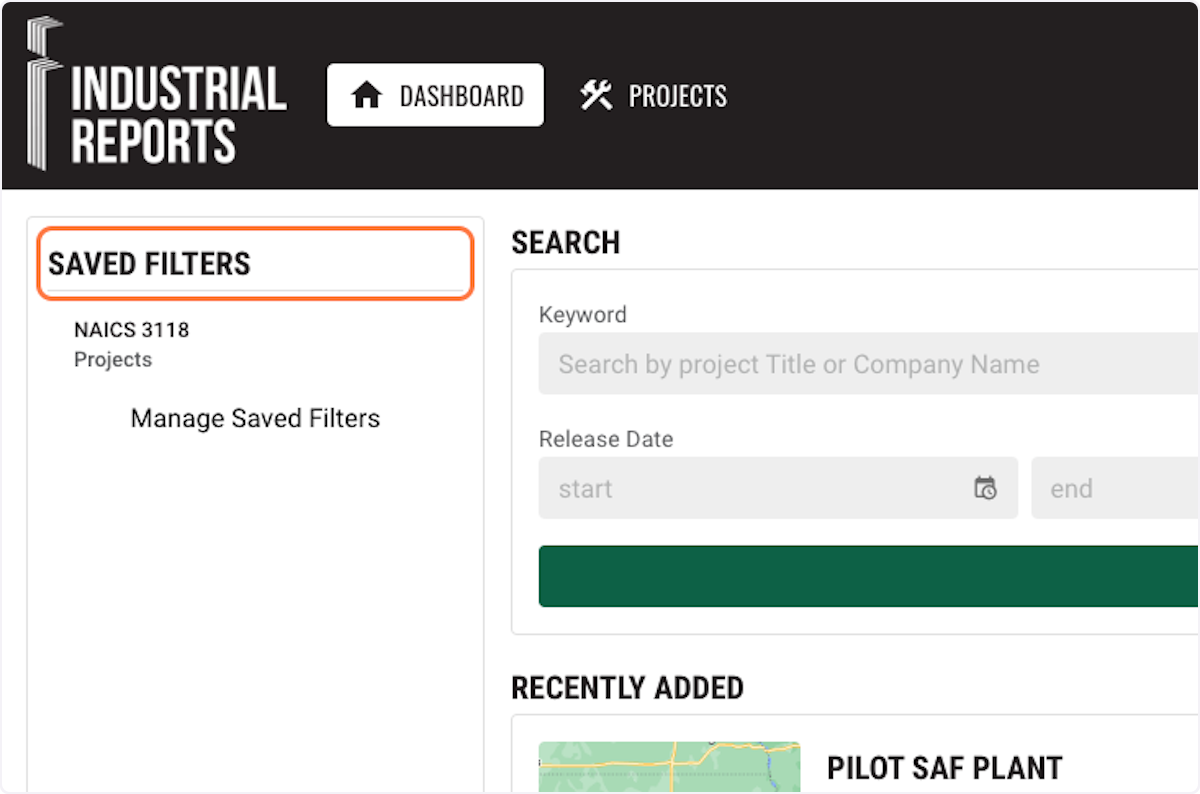
1. At the top of your dashboard is a "SEARCH" section.
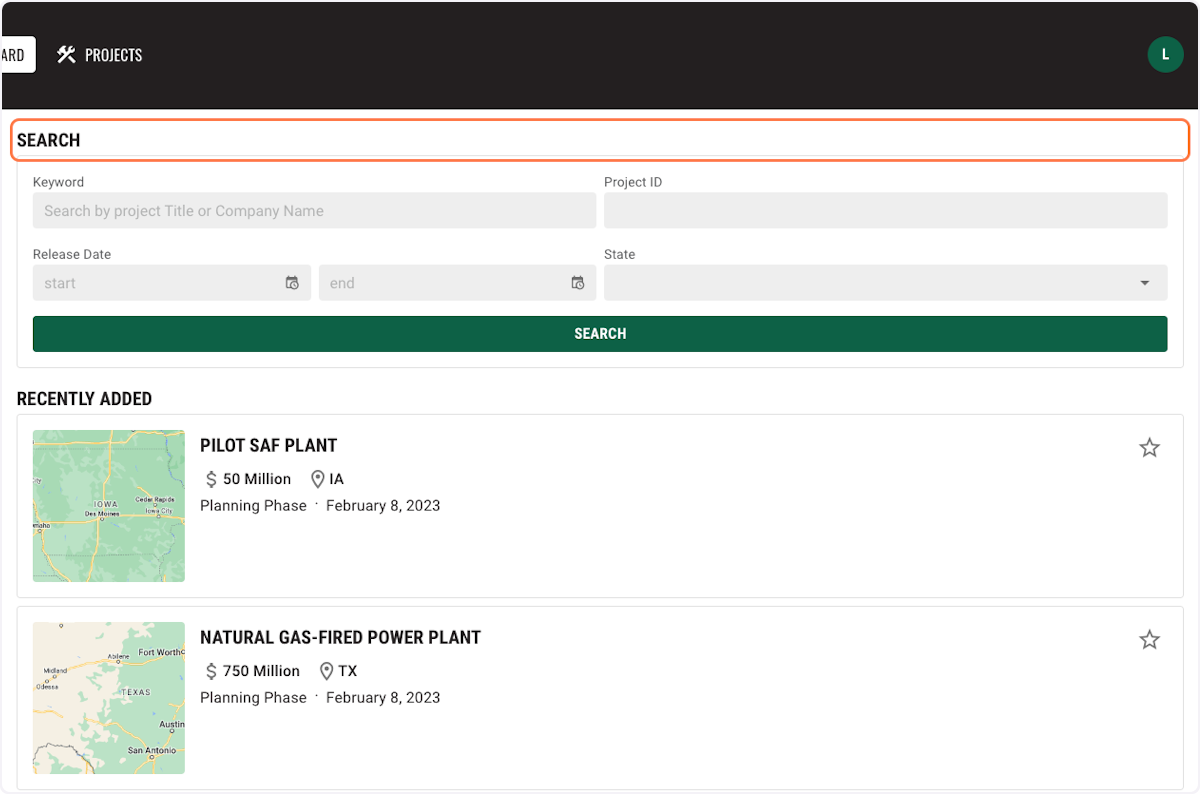
2. You can search by Keyword. For example, a project title or a company name.
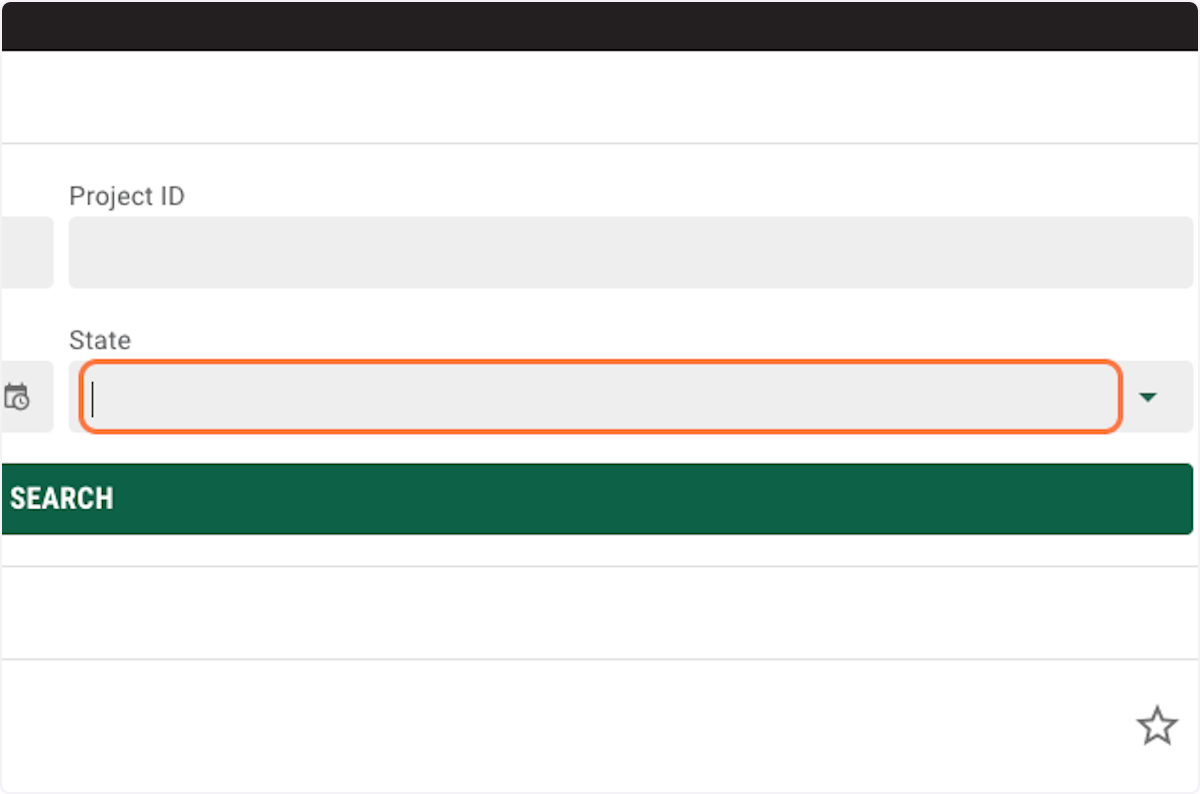
3. You can search by the Project ID.

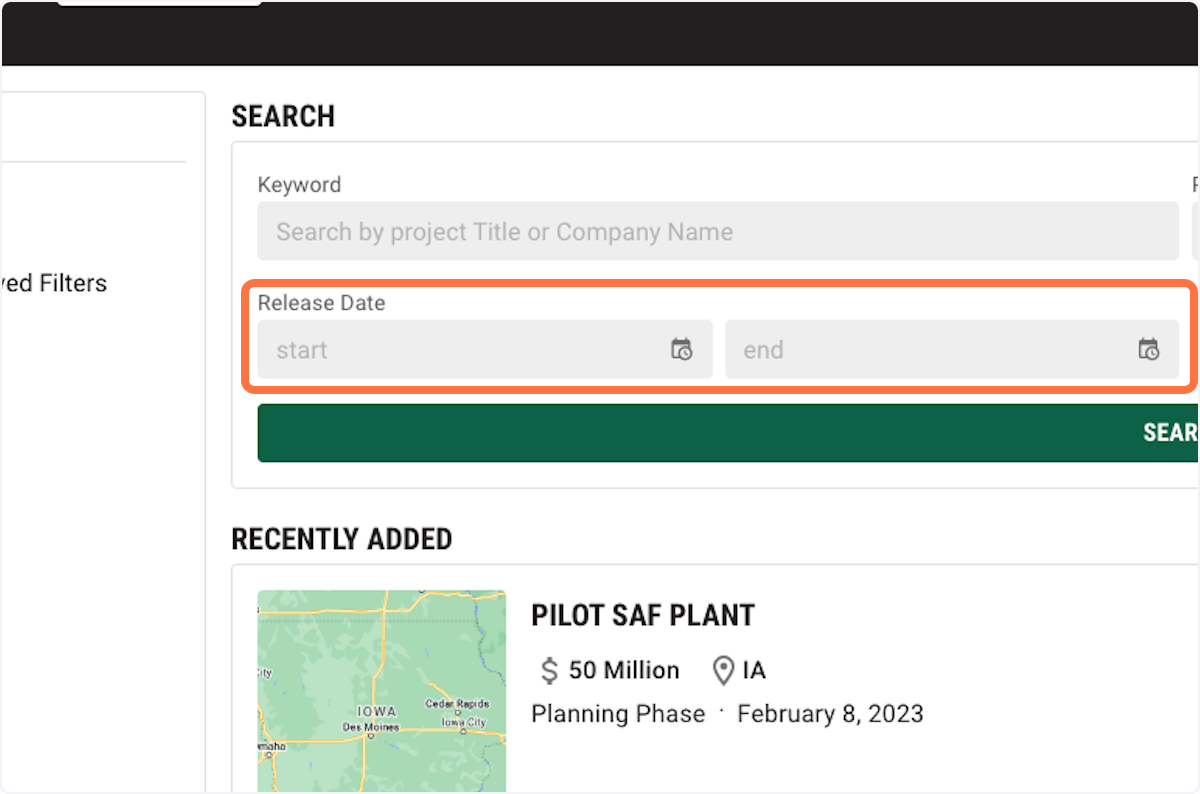
4. You can search by a Release Date or a Release Date range.
5. You can search by the State or Province.
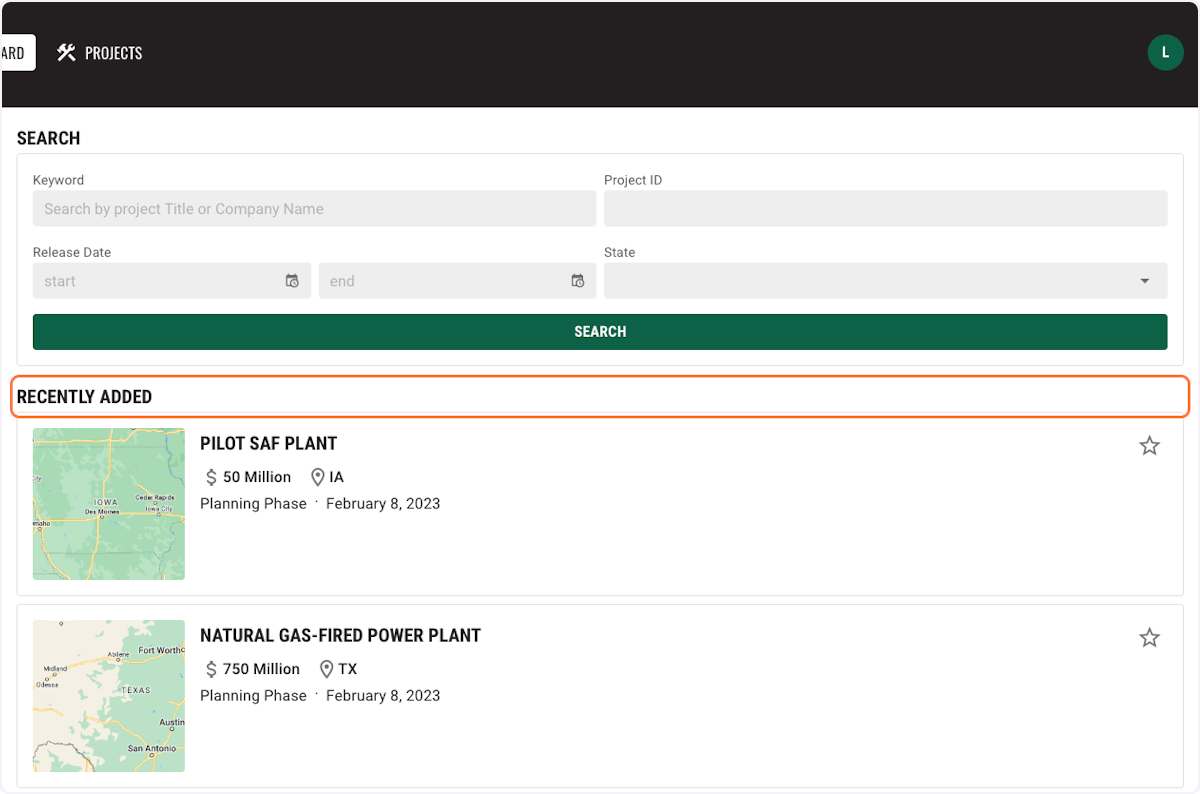
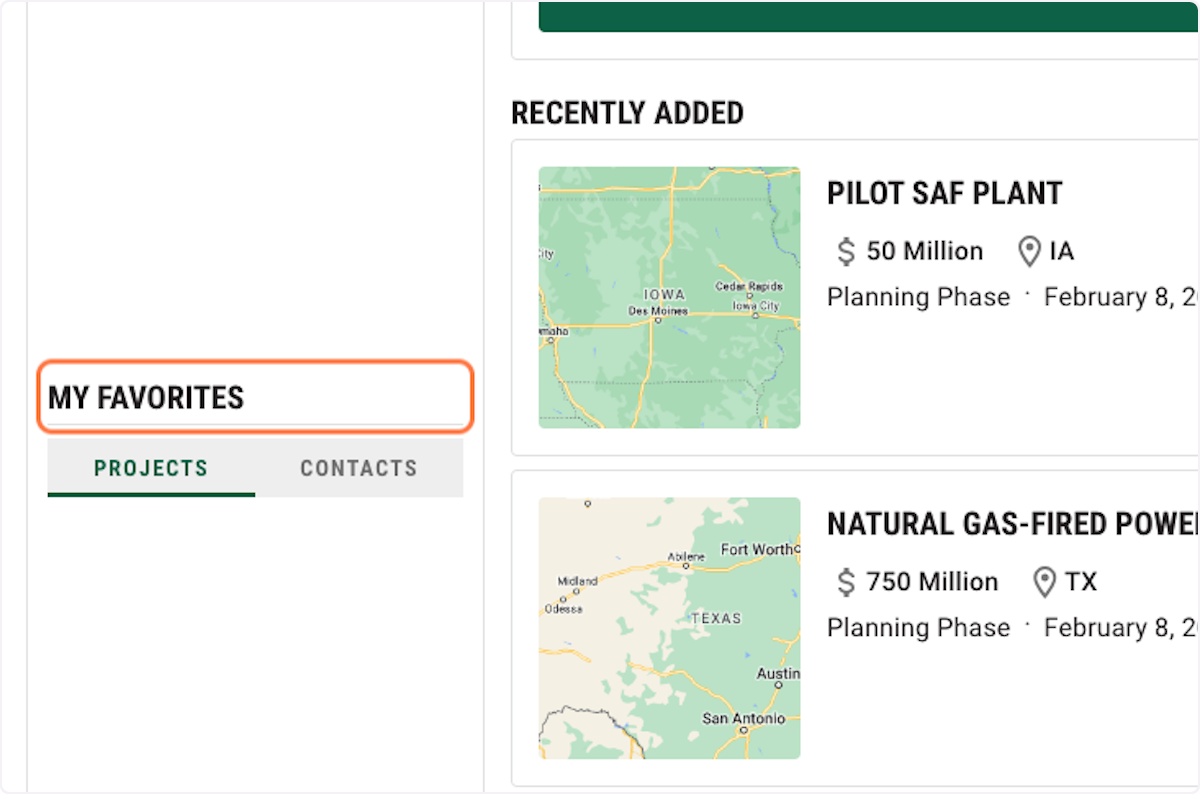
6. Below the Search, you will see all recently added projects within your subscription parameters.
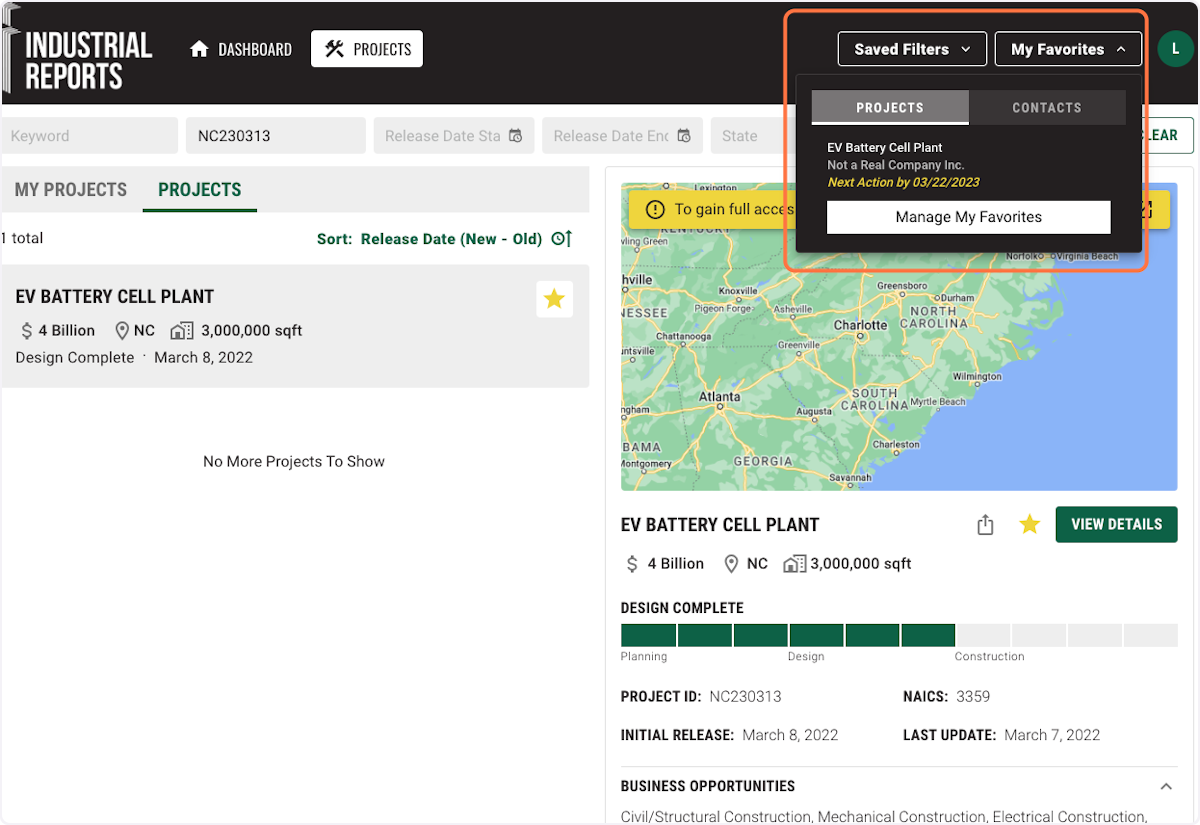
7. Your saved filters will be displayed on the left side of the dashboard.
8. Your Favorite projects and contacts will also be displayed on the left side of the dashboard.
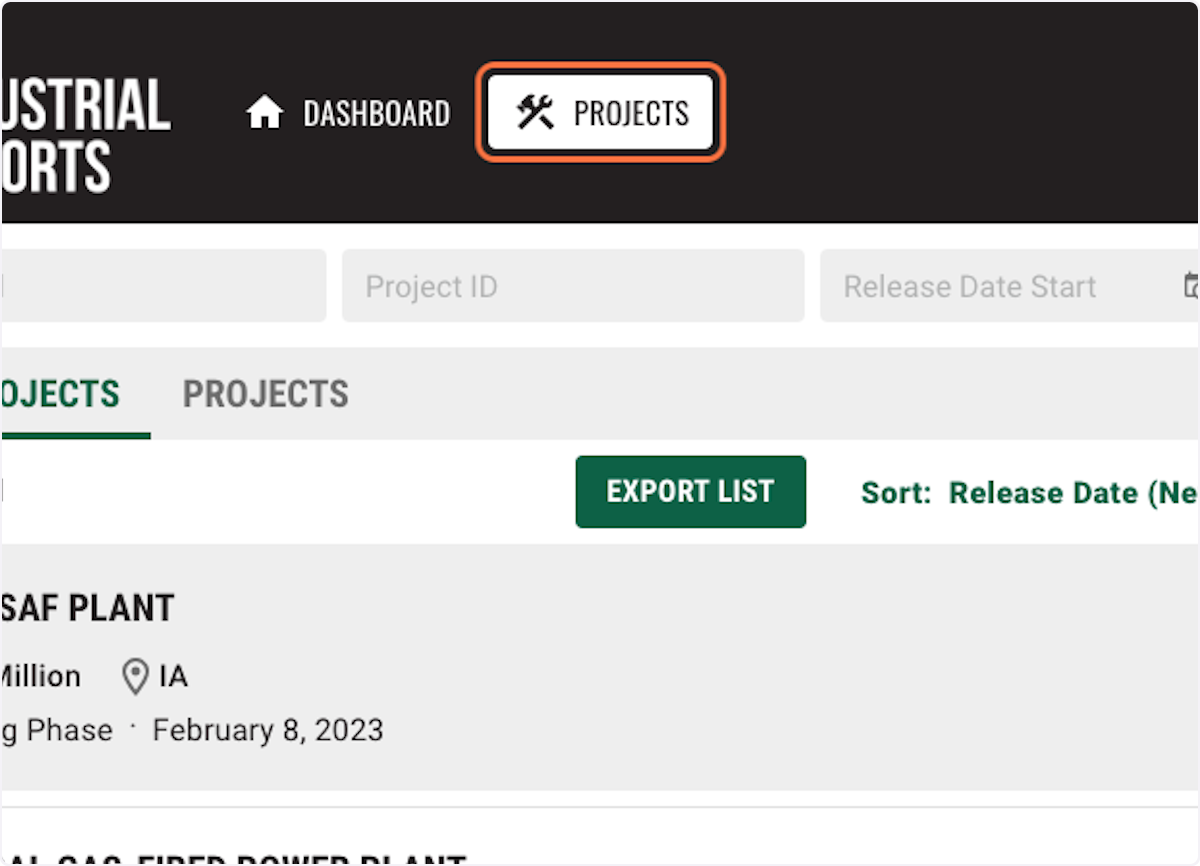
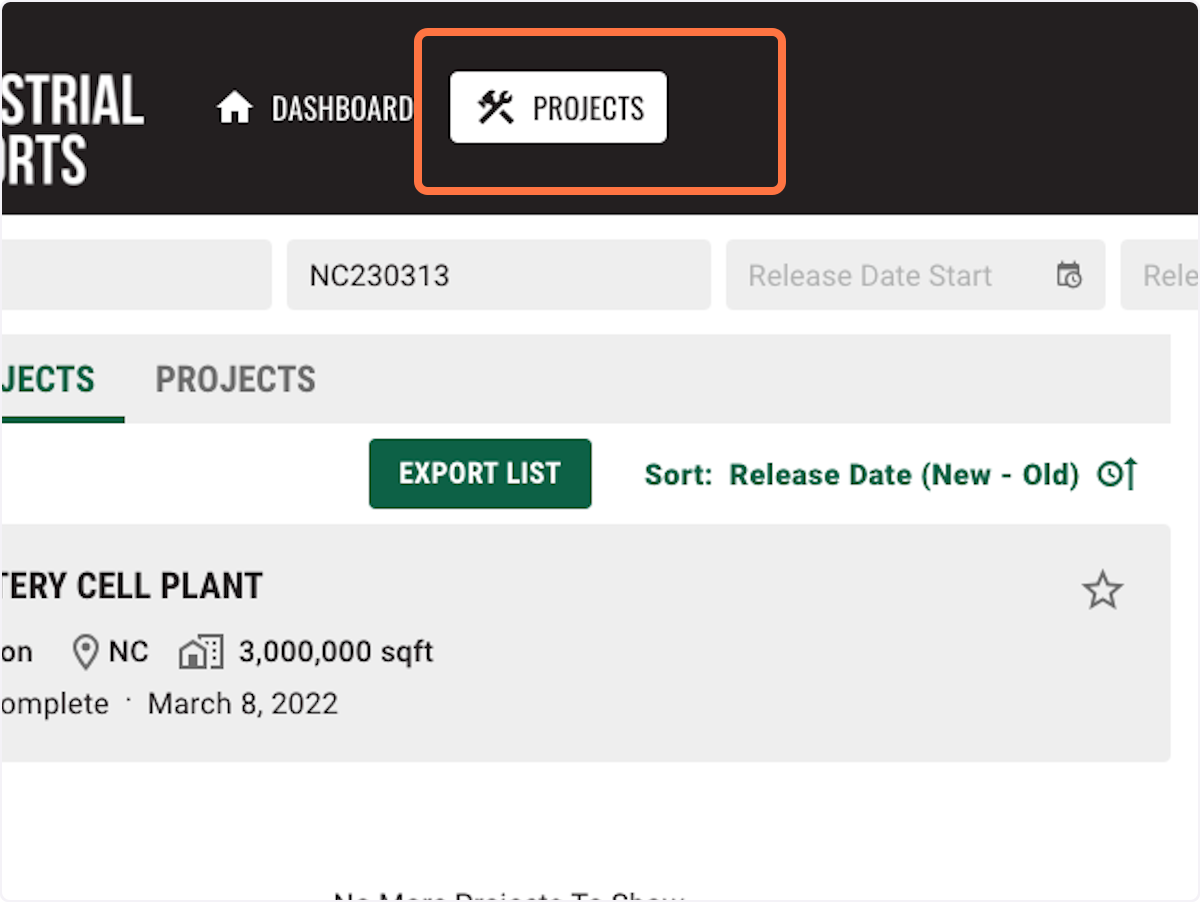
1. Click "Projects" on the toolbar to navigate to the Projects section of the portal.
From this page you can view, search, and filter all projects available on our portal. You can also download project data as a csv file.

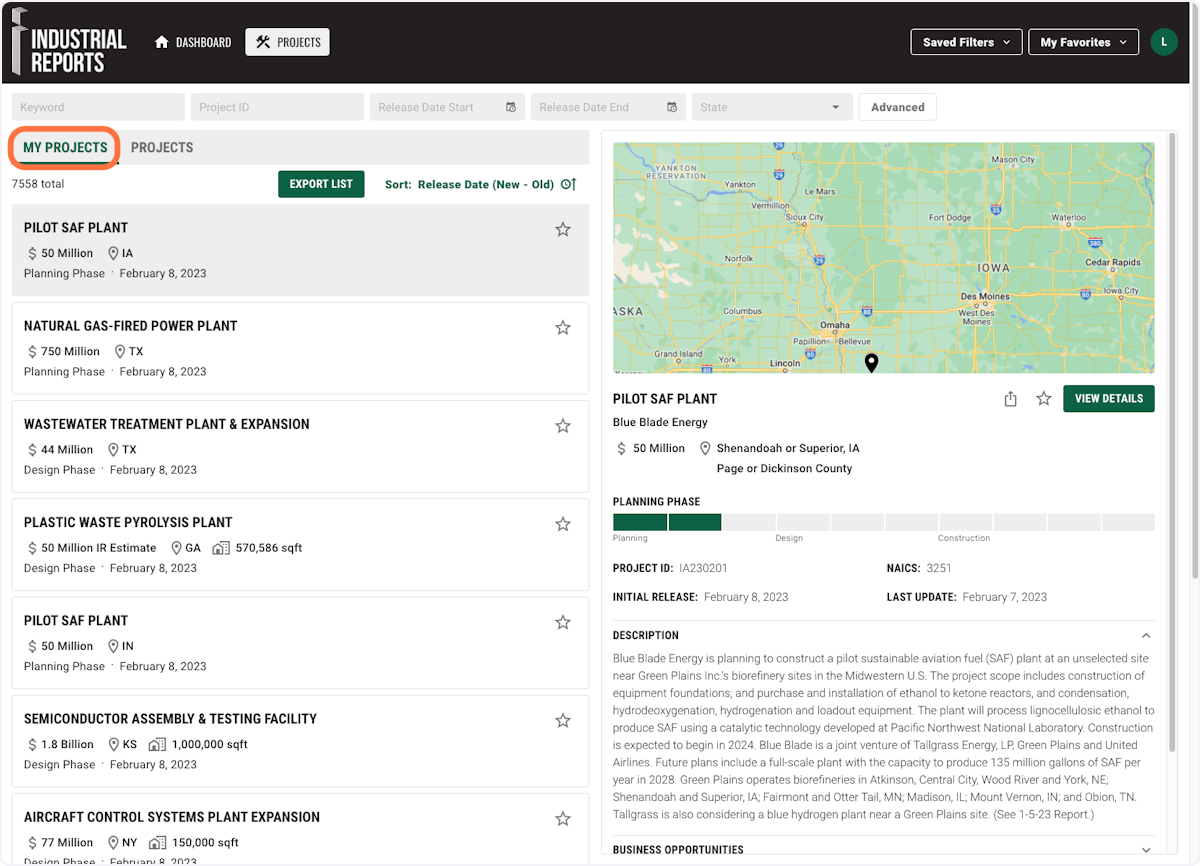
2. A project list is displayed on the left side of the screen and the Project Details preview is on the right side of the screen.
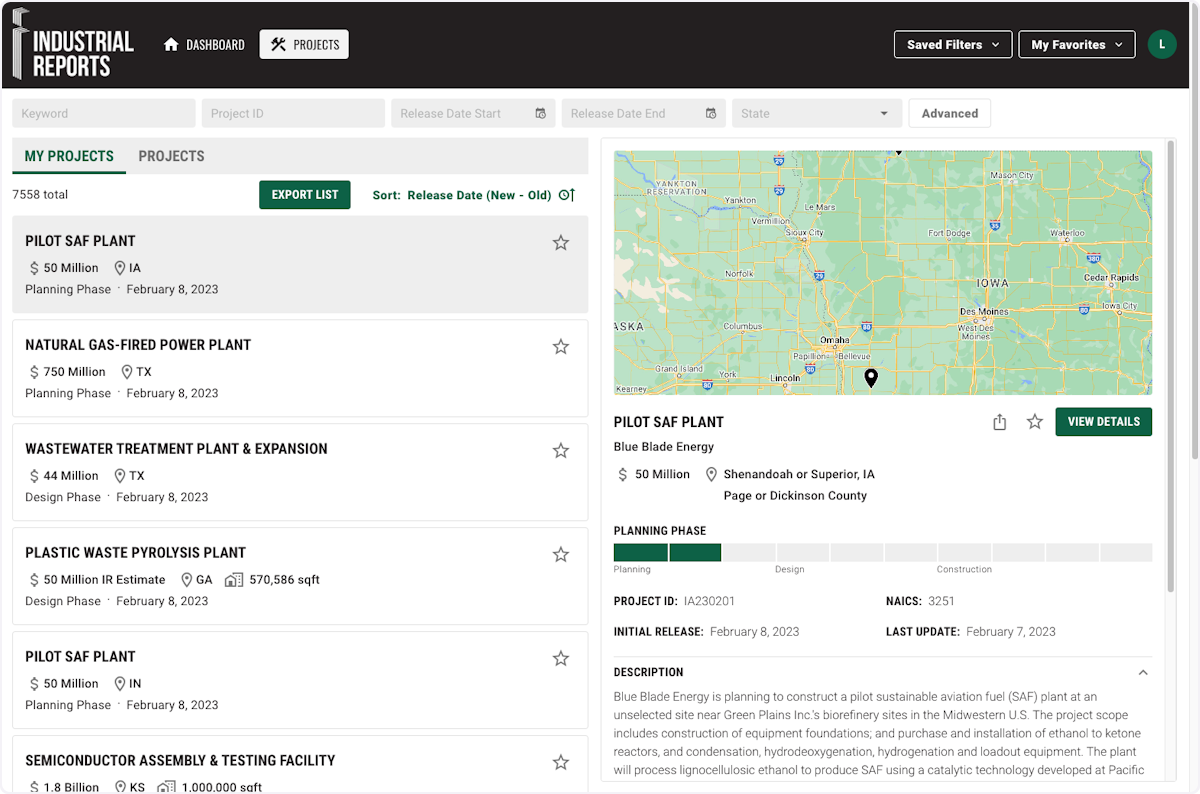
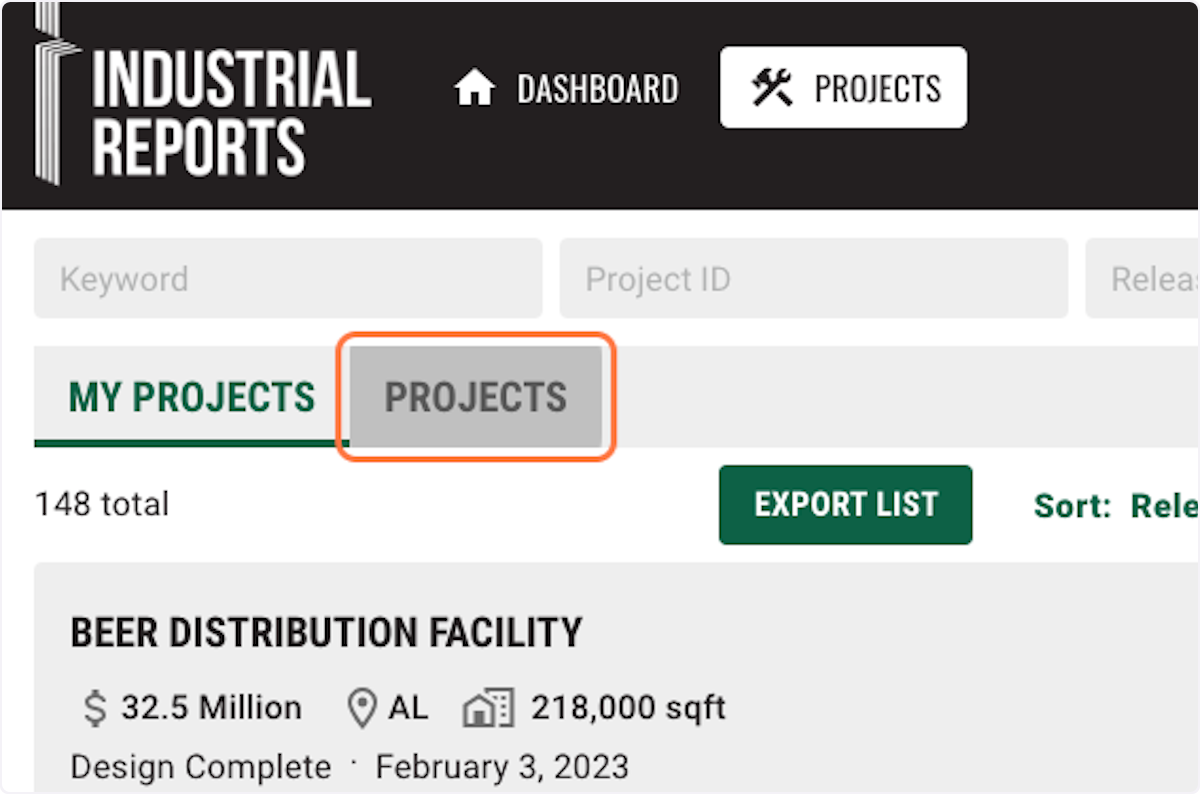
3. There are two headings at the top of the list on the left side: “My Projects” and “Projects”. Projects listed under the “My Projects” tab are those that match your subscription parameters.

4. To view projects outside of your subscription parameters, click the “Projects" tab.
5. Above these sections are the Search and Filter functions. You can filter the list below by Keyword, Project ID, Release Dates, and State or Province. Click Advanced for additional filtering options.
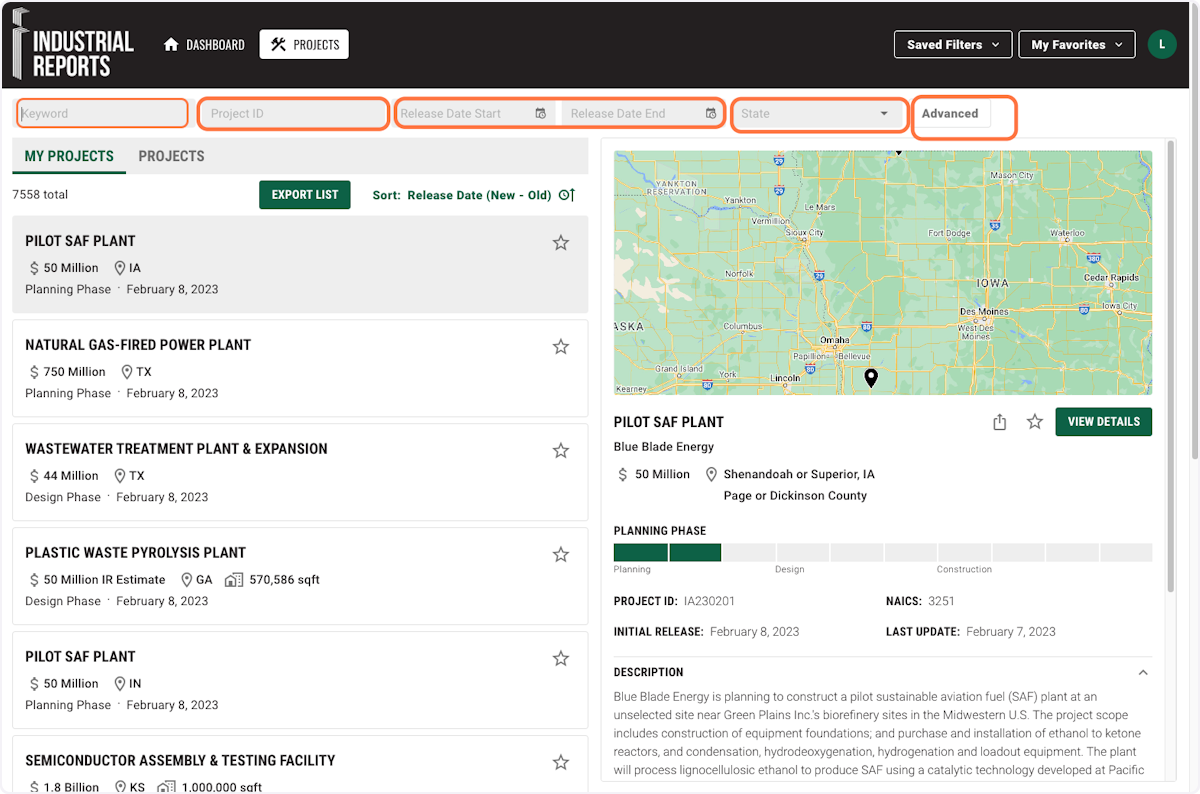
6. Under Advanced, you can filter by Keyword, Project ID, Owner, Cost Range (In Millions), State, Square Feet, Project Phase, Release Date, City, County, Business Opportunities, Industry and NAICS. Click submit to apply filter.

7. Click on SAVE FILTER if you want to save your search.
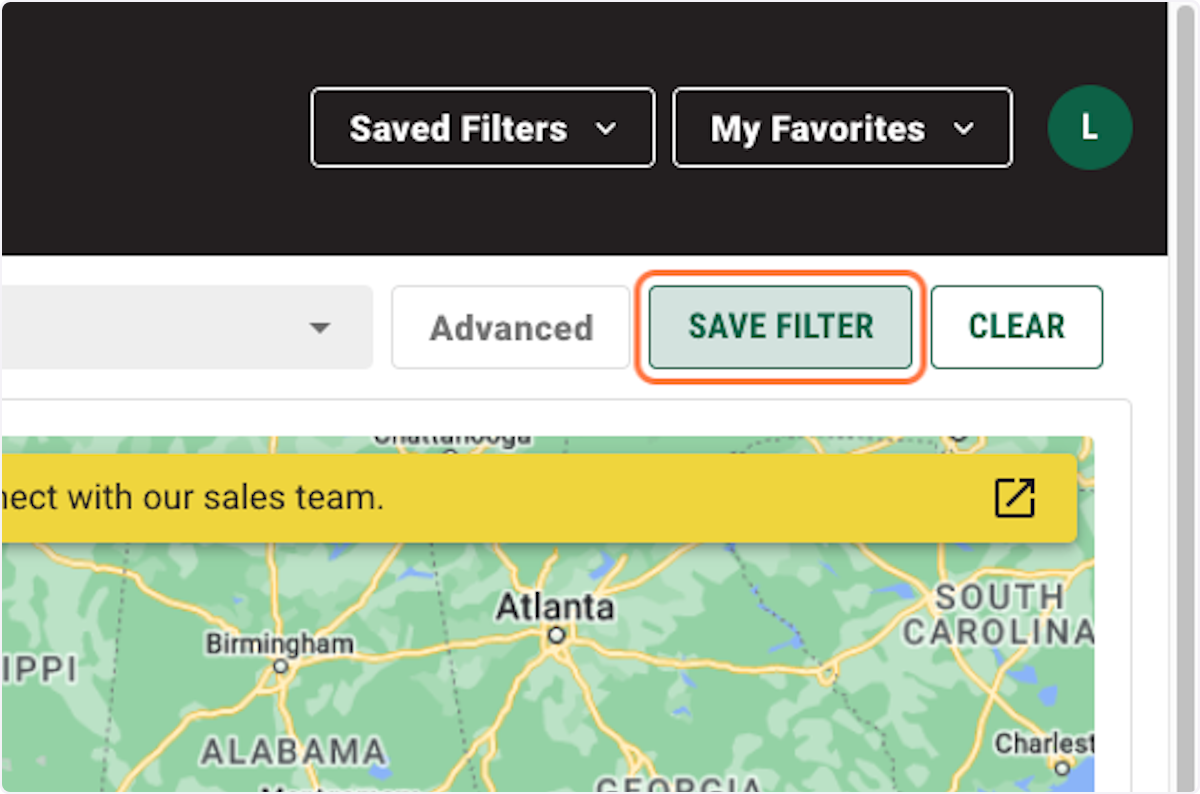
8. Create a name for your filter for future use. This filter will be saved on your Dashboard and you can manage it under your Profile.

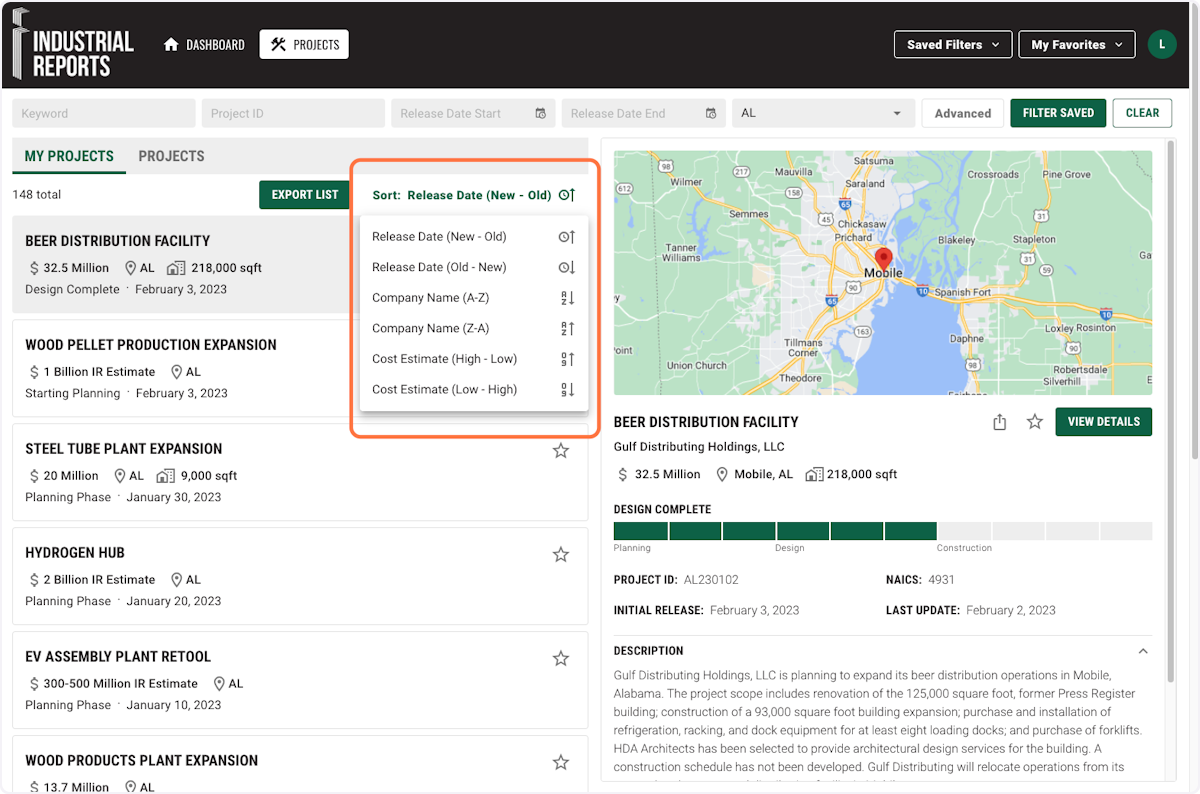
9. You can sort your results by Release Date, Company Name and Project Cost
Estimate.
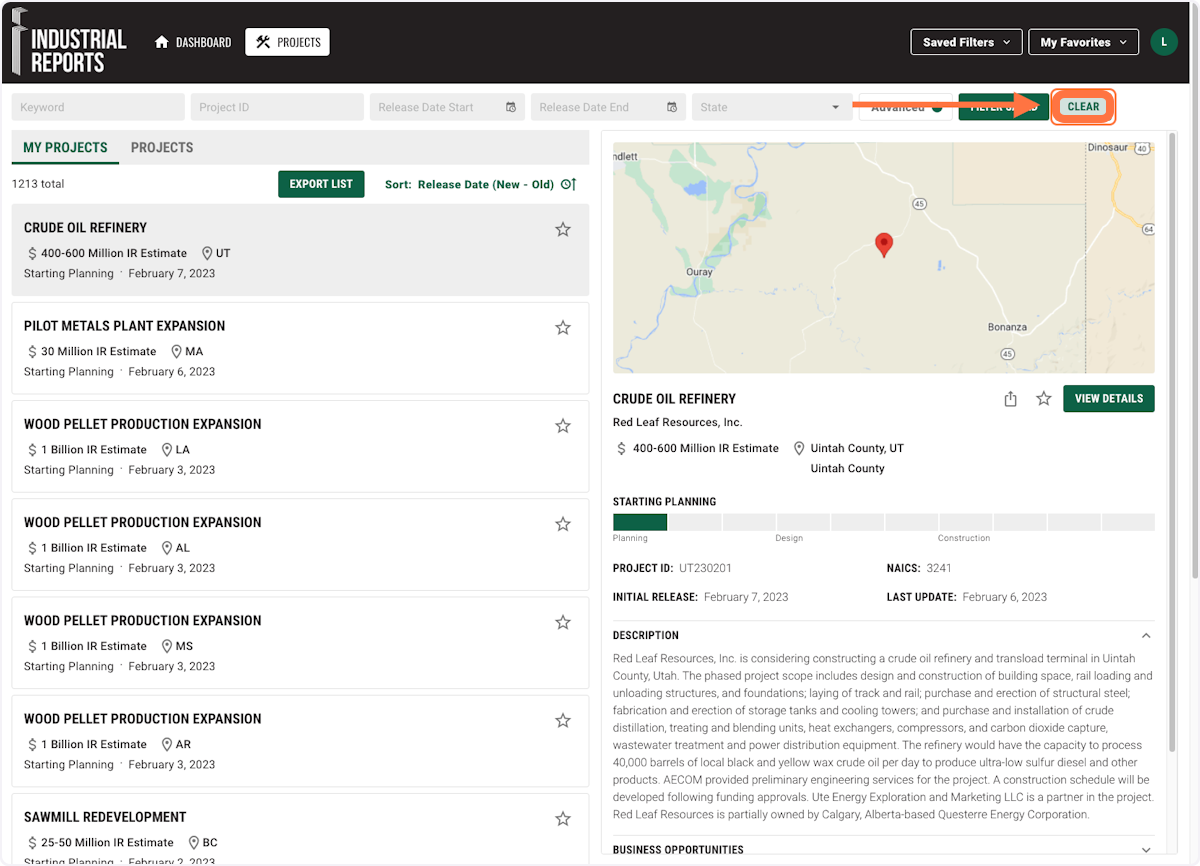
10. You can clear your filters anytime by clicking CLEAR at the top right side of the screen.
1. Click "Projects" on the toolbar to navigate to the Projects section of the portal.
2. You are able to export project data from the "MY PROJECTS" tab only.
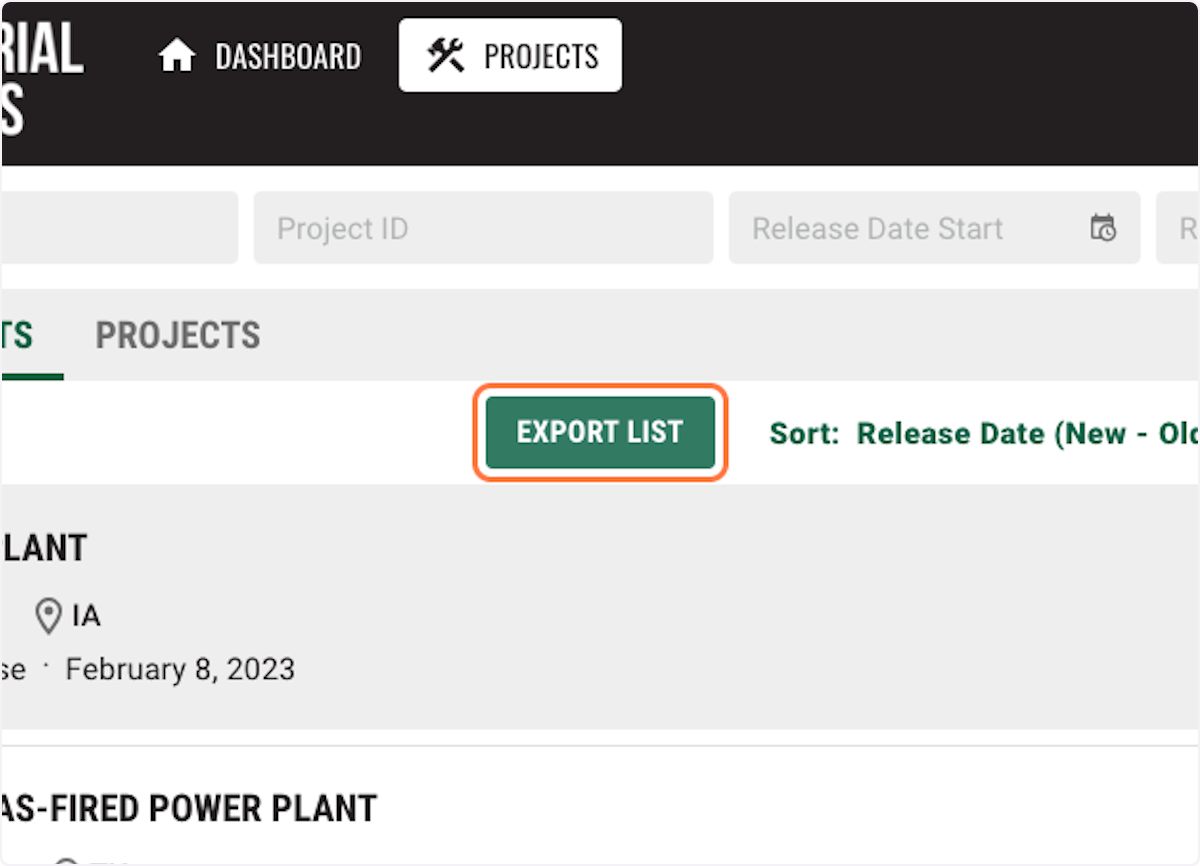
3. Click "EXPORT LIST"
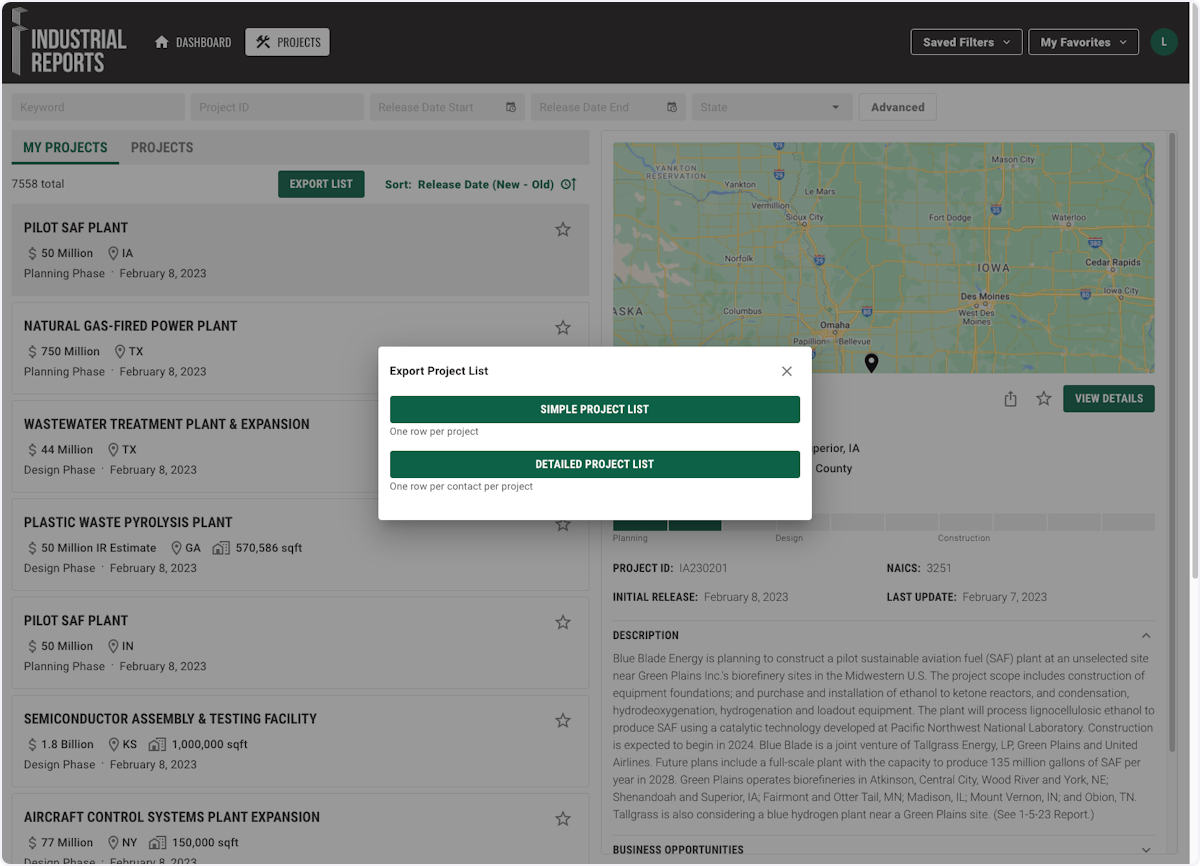
4. You will have two options for downloading the export:
- Simple Project List: All data from each project will be exported in a single row.
- Detailed Project List: All data from each project will be exported into one row per contact.
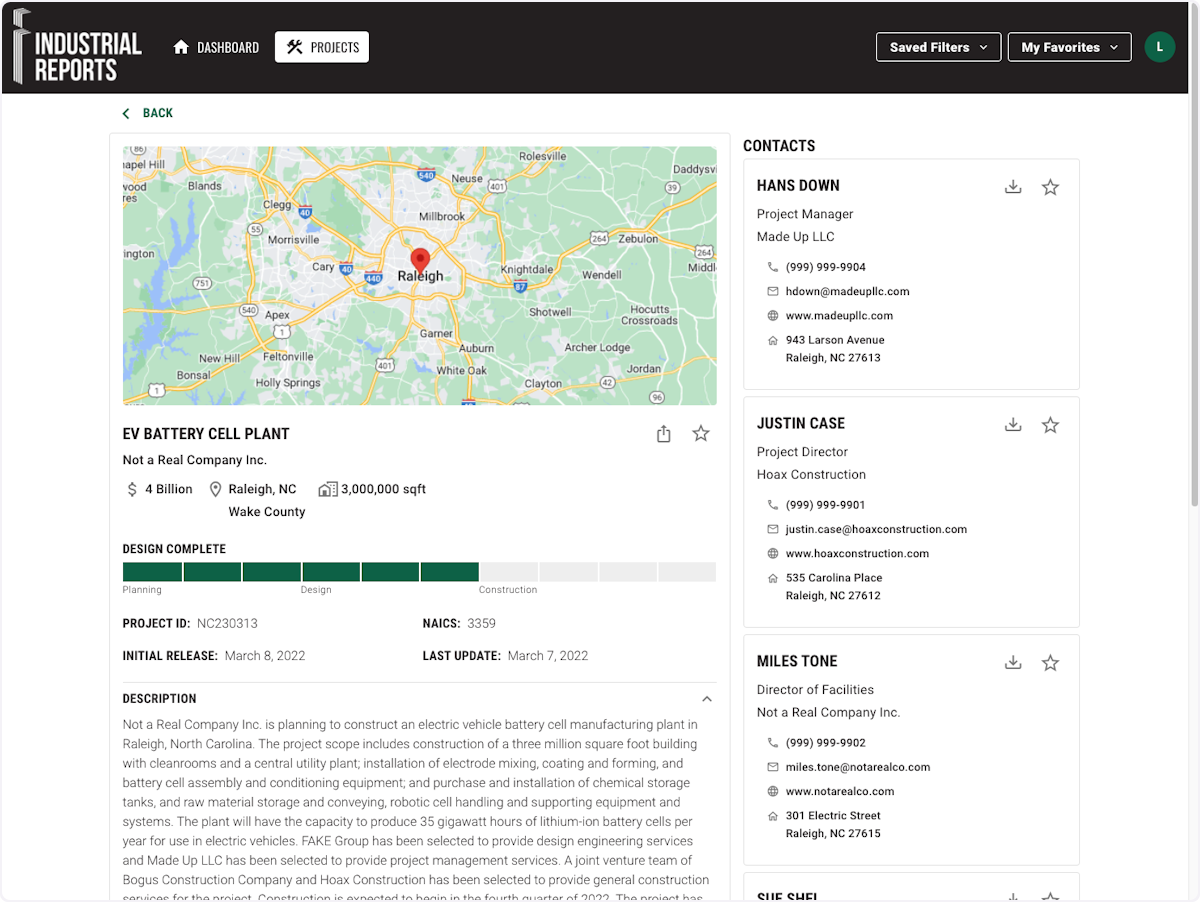
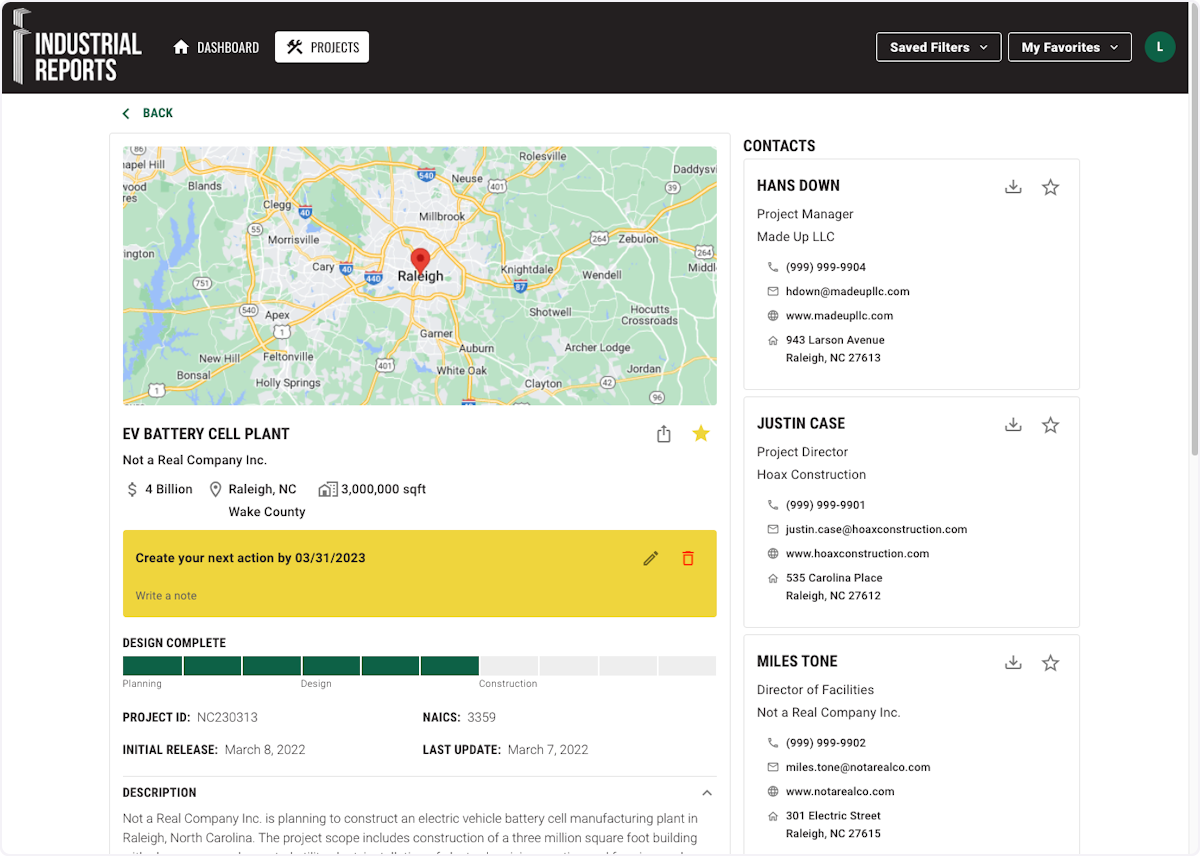
1. Click "PROJECTS" on the toolbar to navigate to the Projects section of the portal. Click "VIEW DETAILS" on the project listed on right side. You will only be able to view details and contacts if the project is included in your subscription.
2. All project details will be displayed including a map of the location at the top, followed by detailed information below and contacts listed to the right.
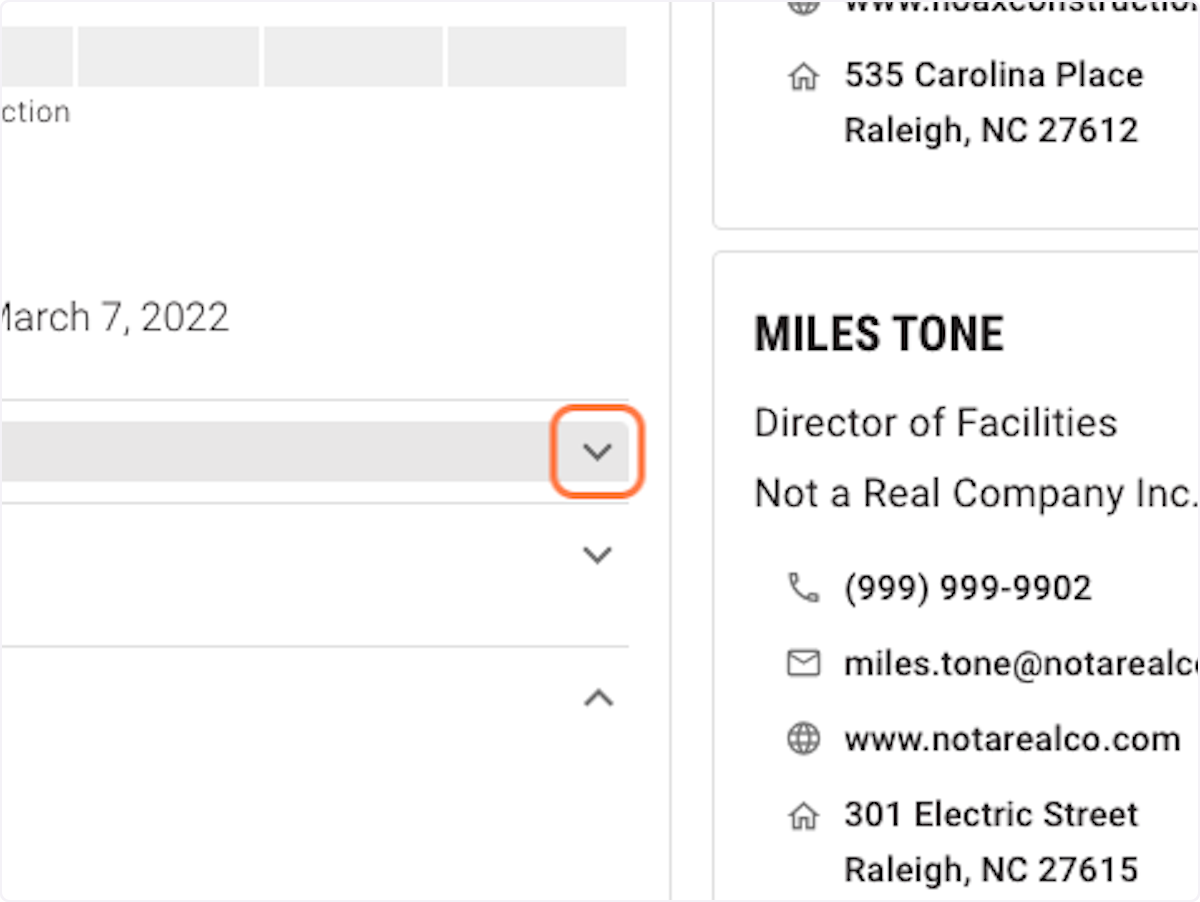
3. Sections are collapsible so you can customize your view. (especially if you would like to print this information).
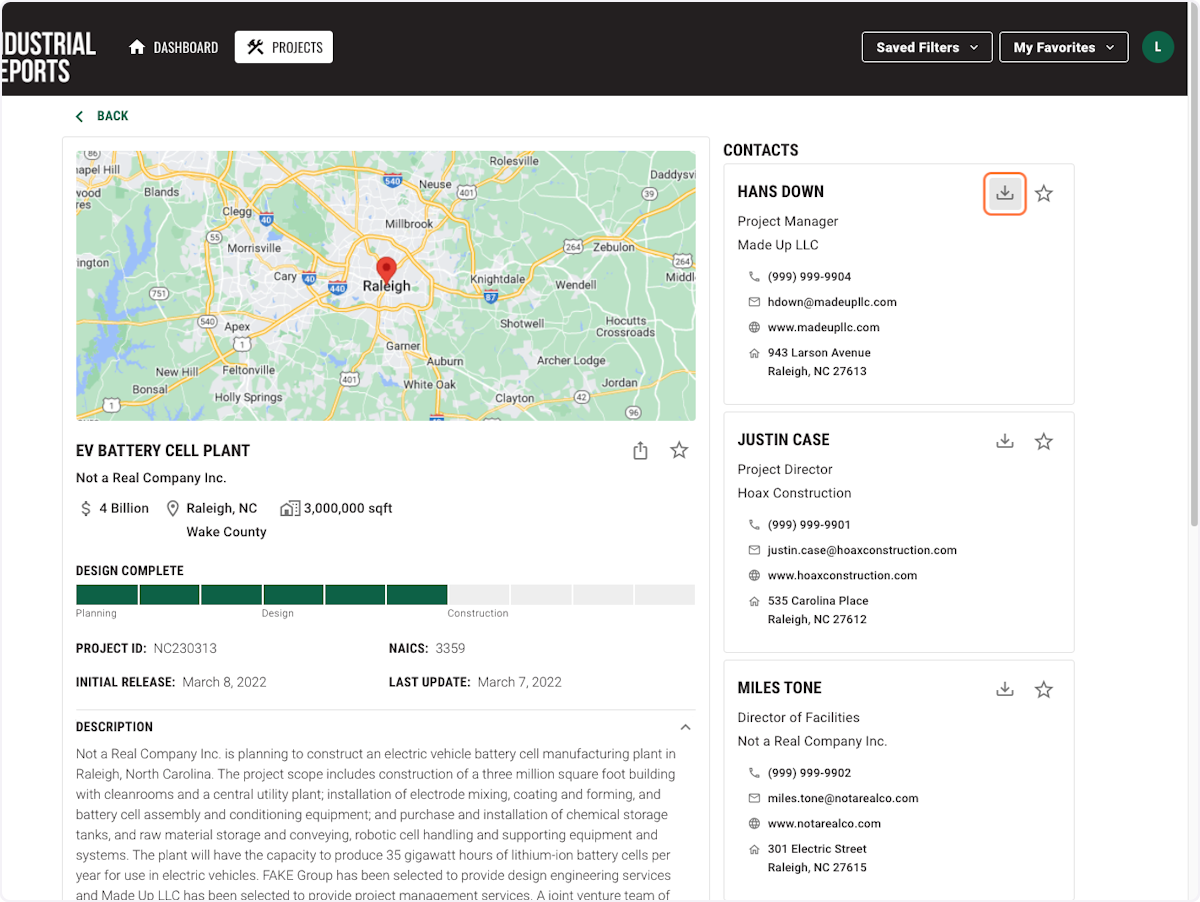
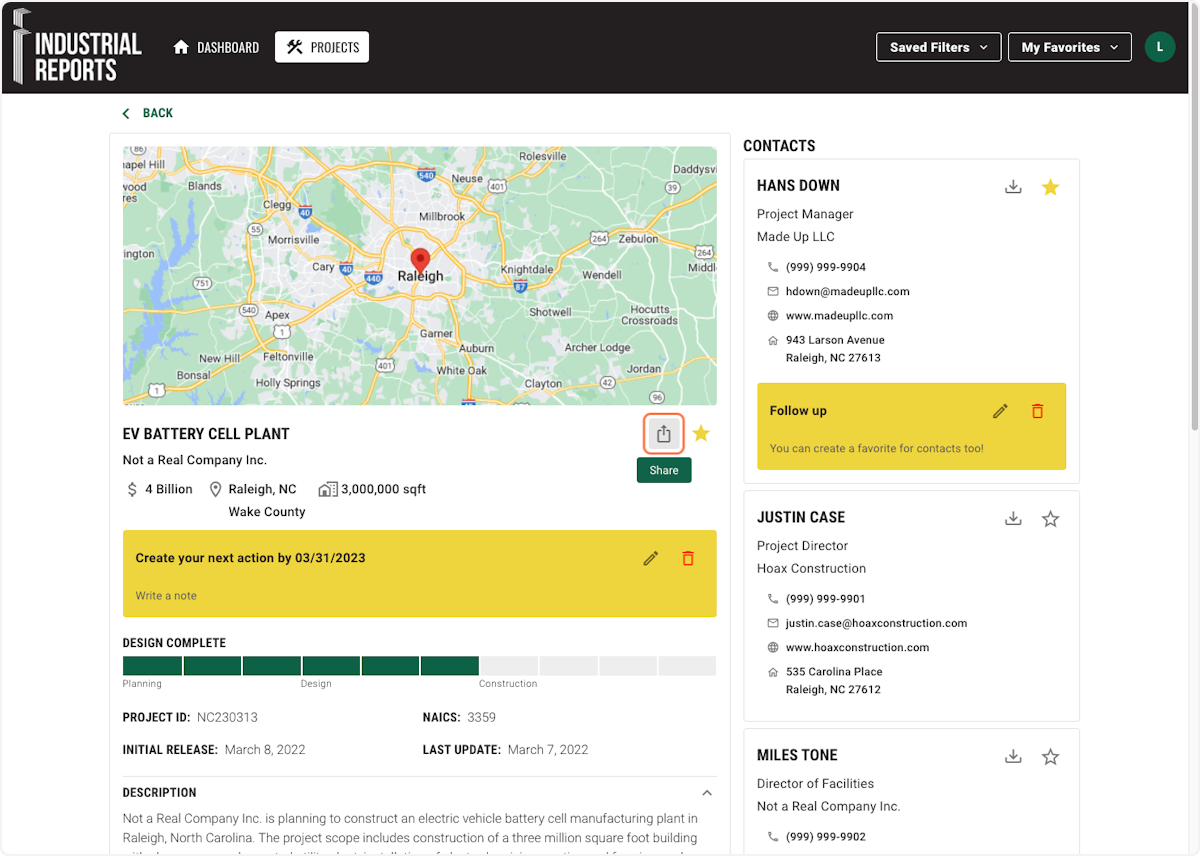
4. To download a Vcard of the contact data, click on the download icon.
5. Click on the phone number, email or website to call, email or view a contact’s website.

6. To add the project to Favorites, click the star.

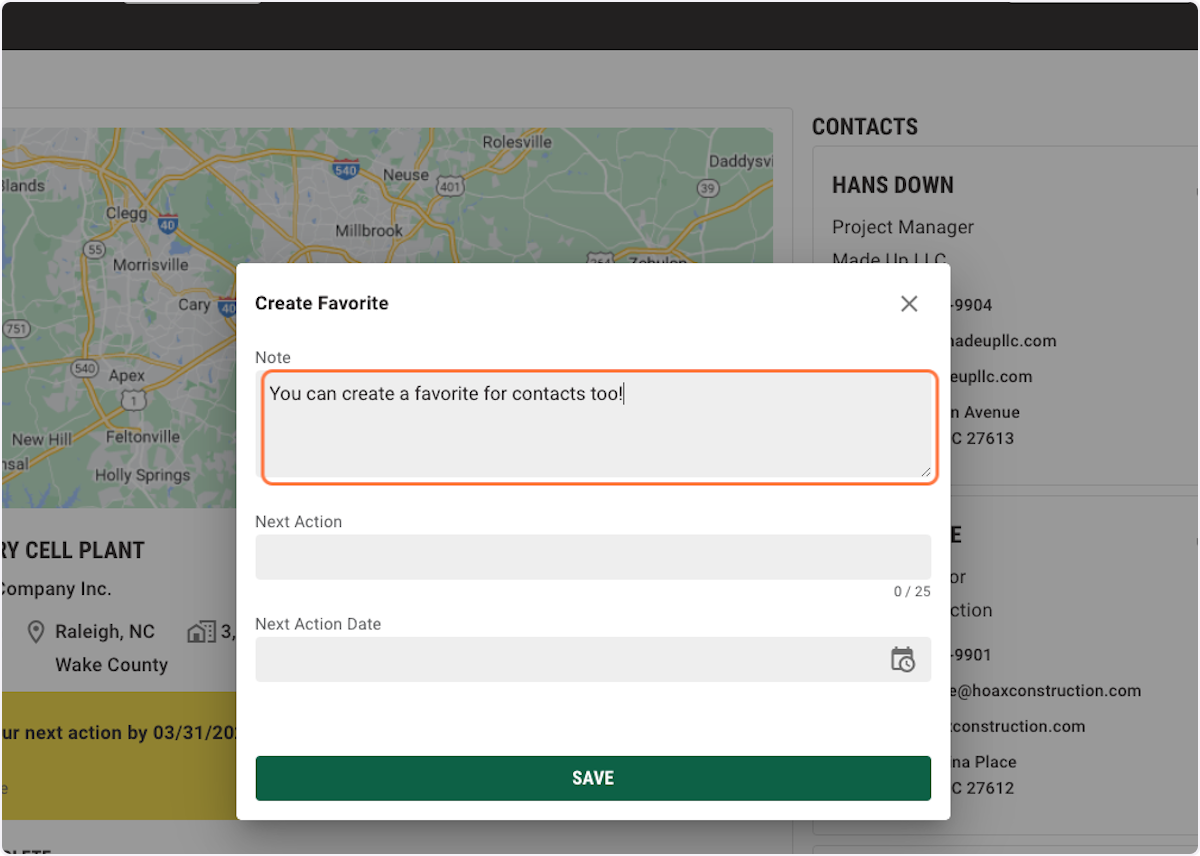
7. A window will open in which you can input notes, next action and next action date.
Favorites will appear on your dashboard on the left side and are only visible to your specific login.

8. A yellow banner will appear on the project along with the notes you entered.
9. You are able to edit or delete from this same yellow banner.
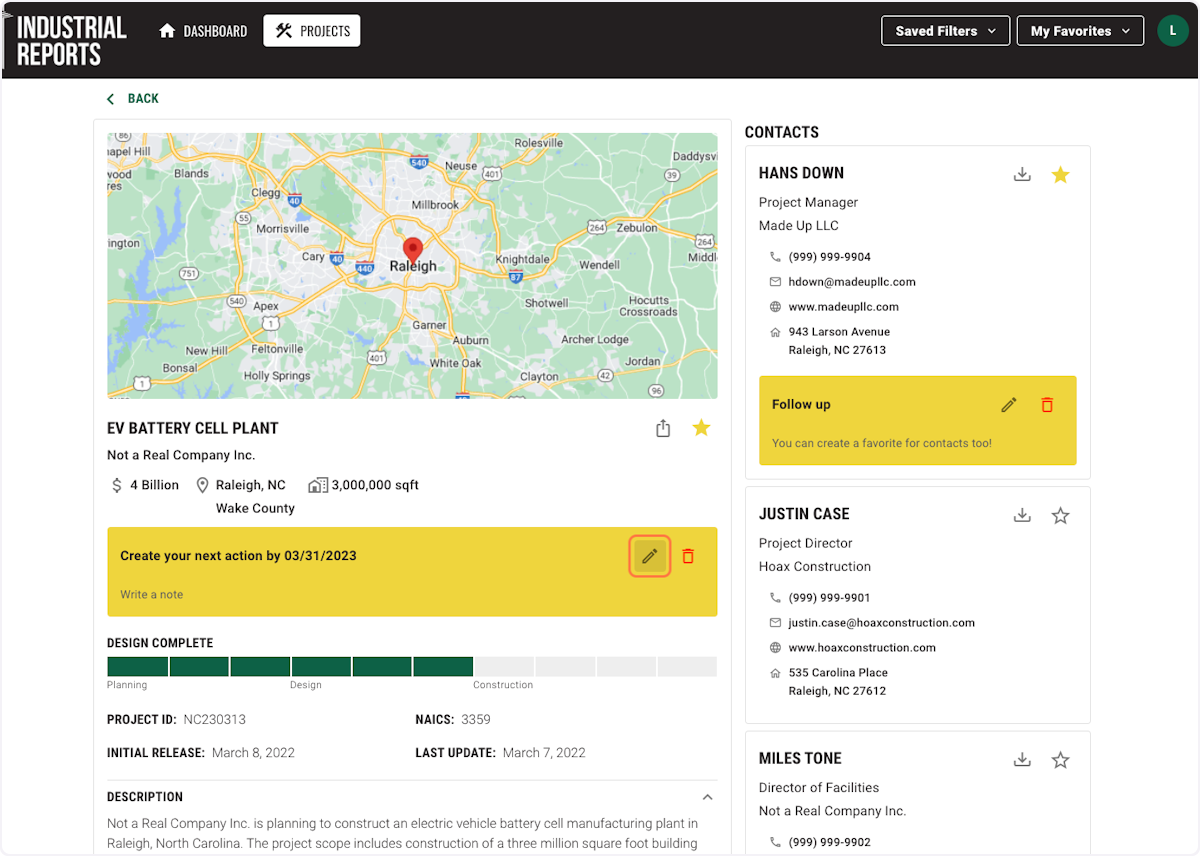
10. You may also manage favorites from the toolbar at the top of your screen and under your profile.
11. Each contact has the same star where you can create a list of favorite contacts.
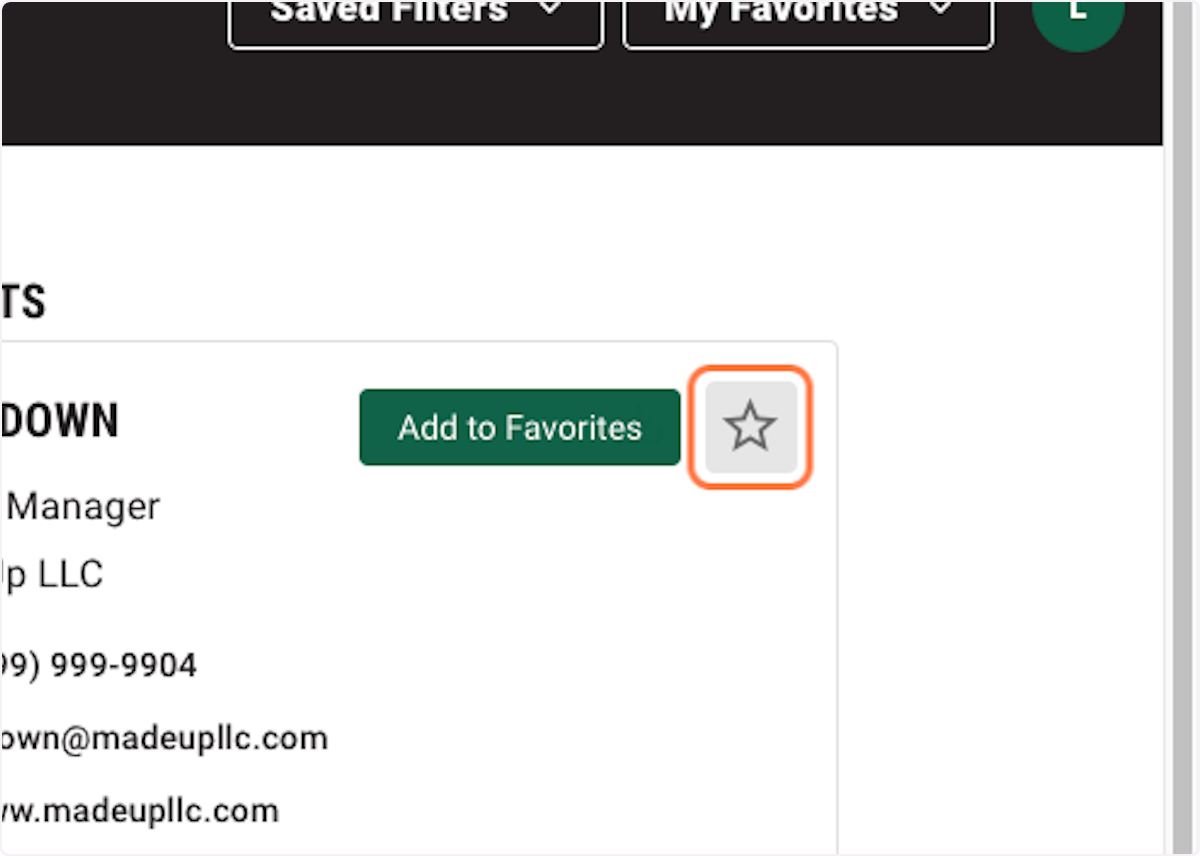
12. The format is the same as a favorite project and will be visible on your dashboard, toolbar and profile.
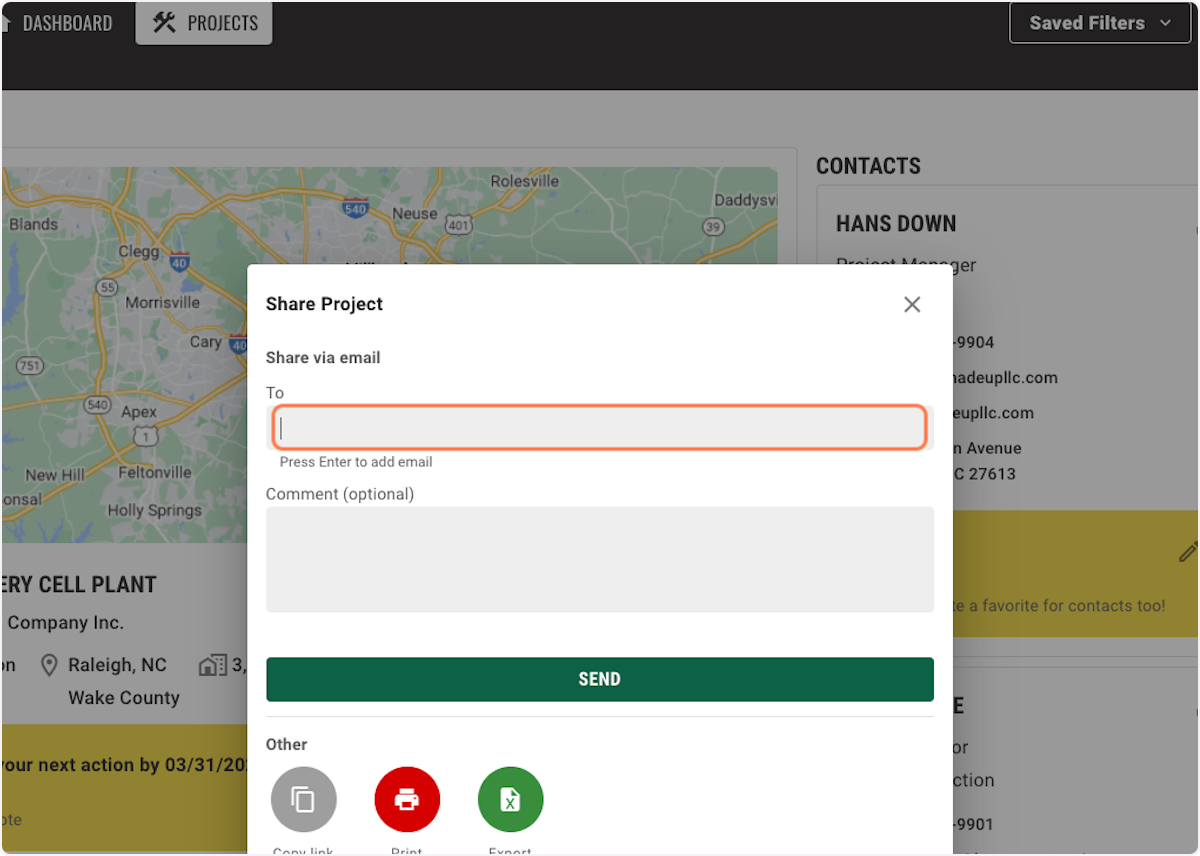
13. Click on the share icon to view sharing options.
14. A window will open in which you can share the project as a snippet via email, a link, print or export the project as a csv file.
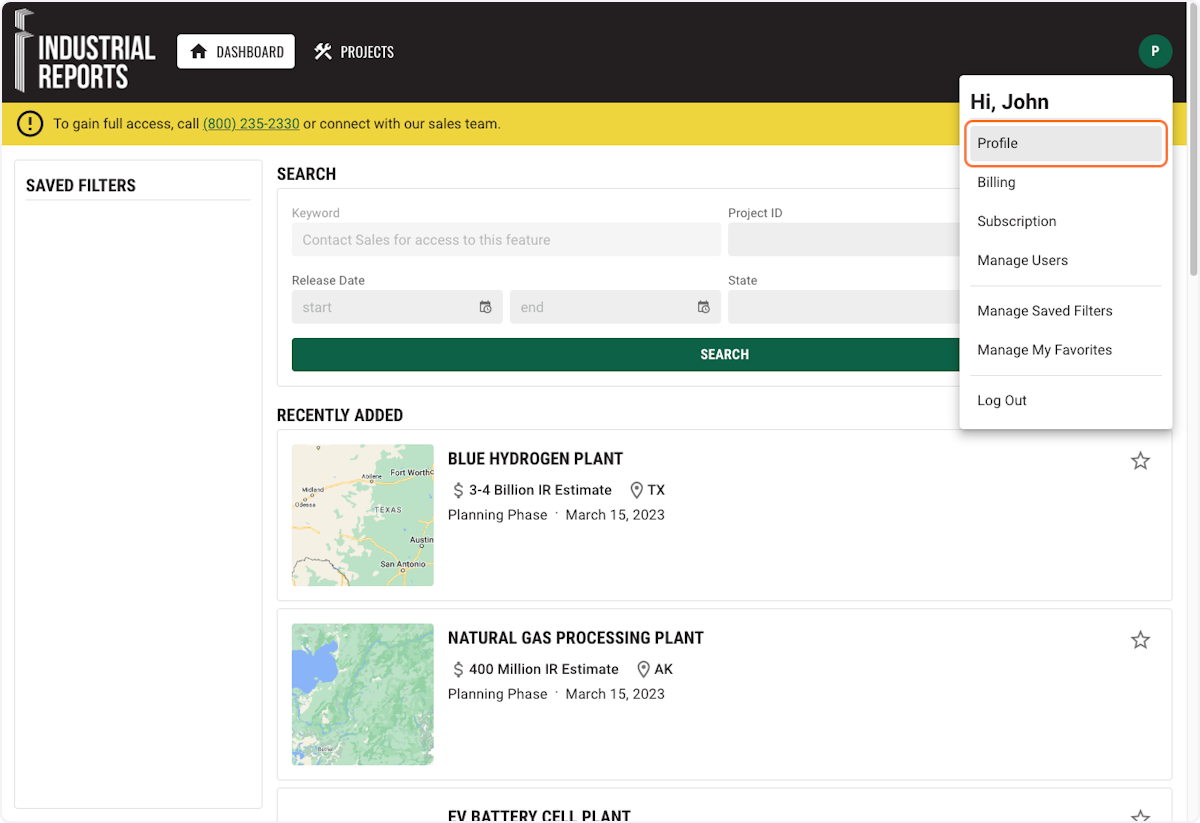
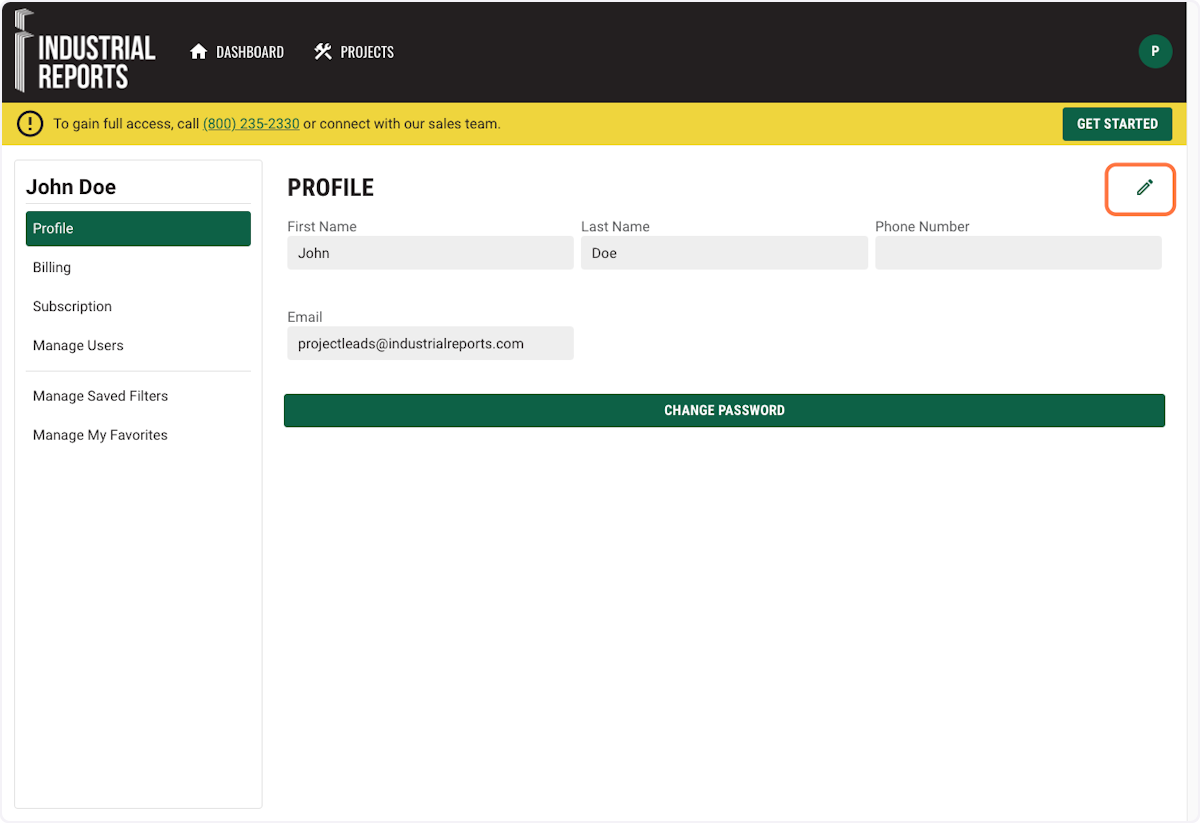
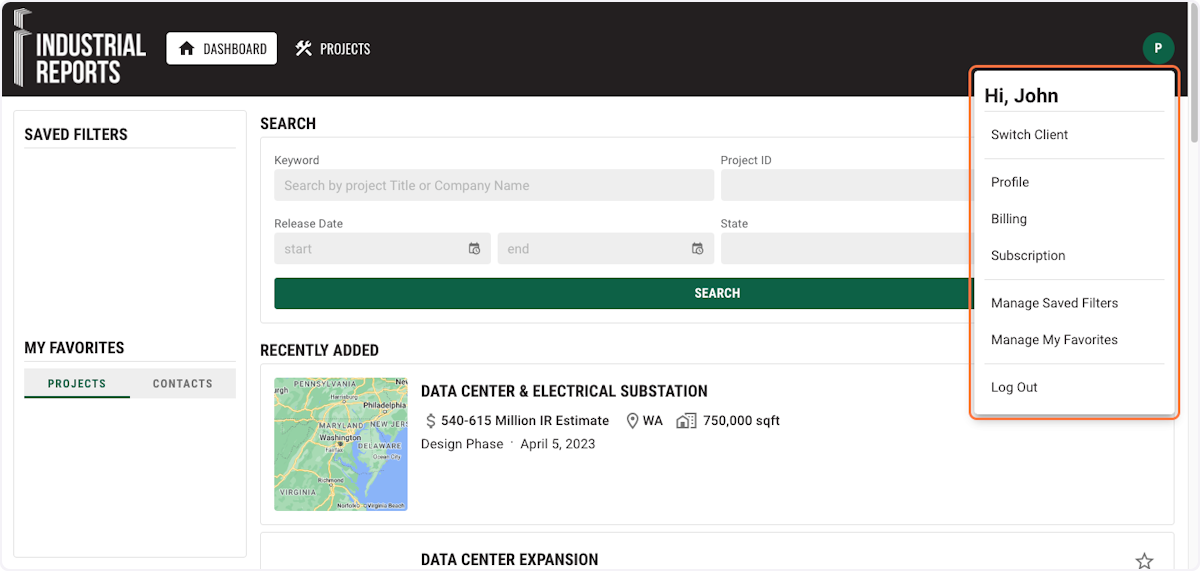
1. Click on the circle in the top right corner of your screen for a dropdown menu.
Click "Profile" to view and update your username, phone number, email and/or password.
2. Click the pencil to Edit your profile information.
3. A window will open allowing you to edit your information. Click "SAVE".

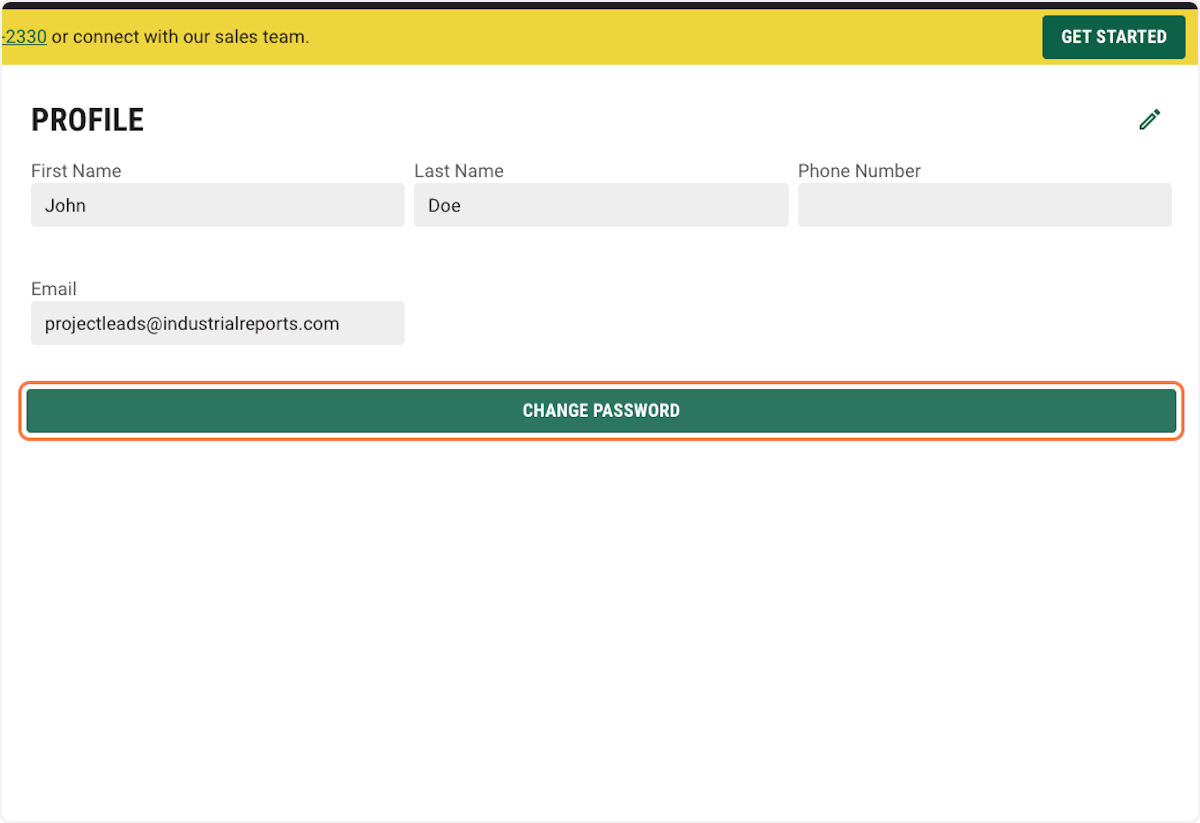
4. To change your password, click the button "CHANGE PASSWORD".
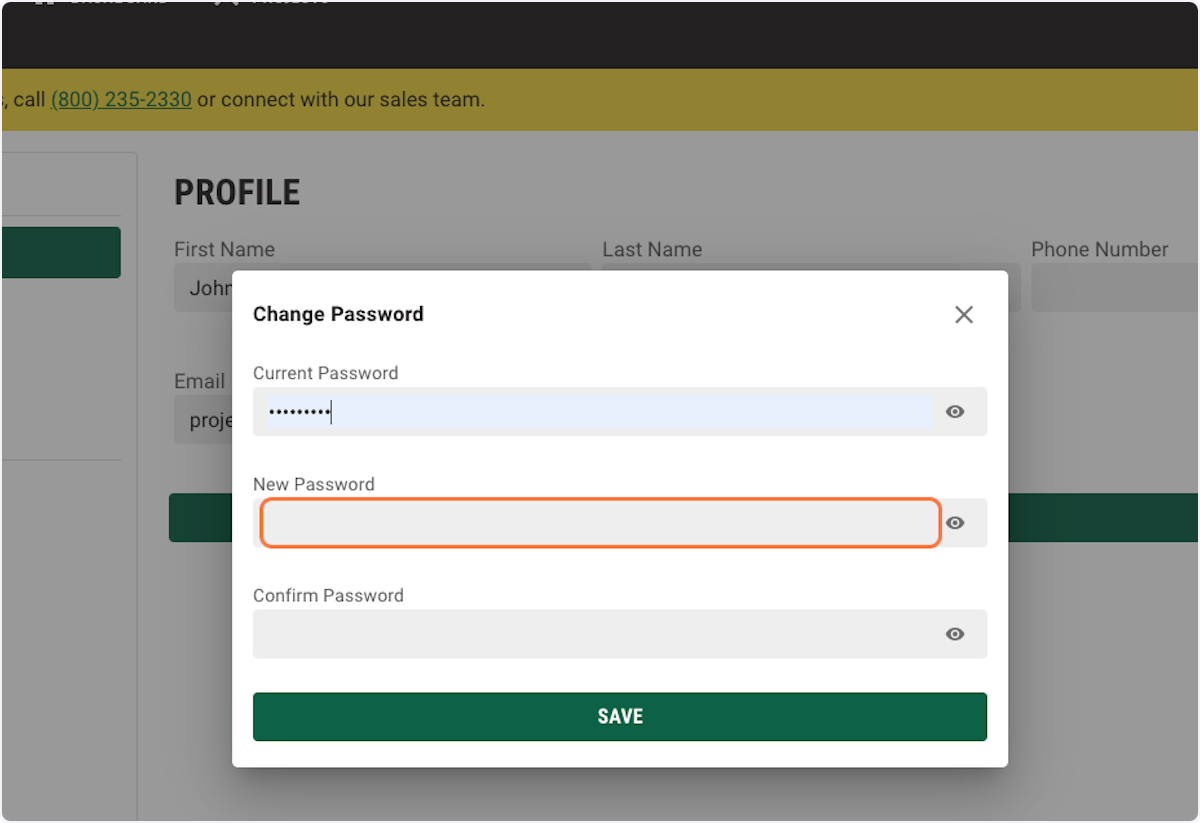
5. Type new password and "SAVE".
1. Click on the circle in the top right corner of your screen for a dropdown menu.
2. Click on Billing.
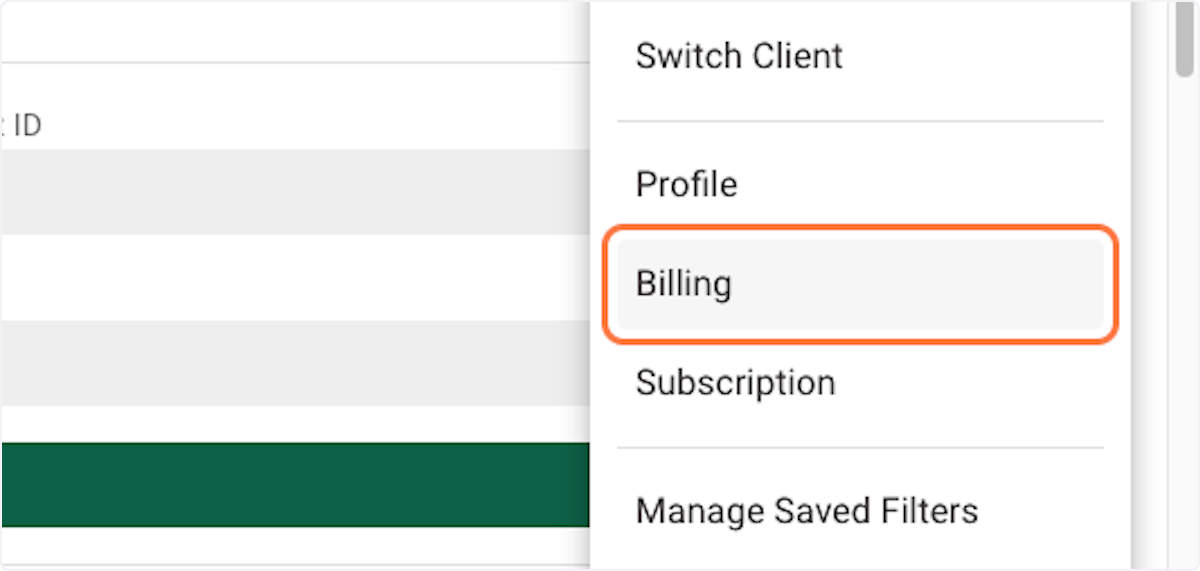
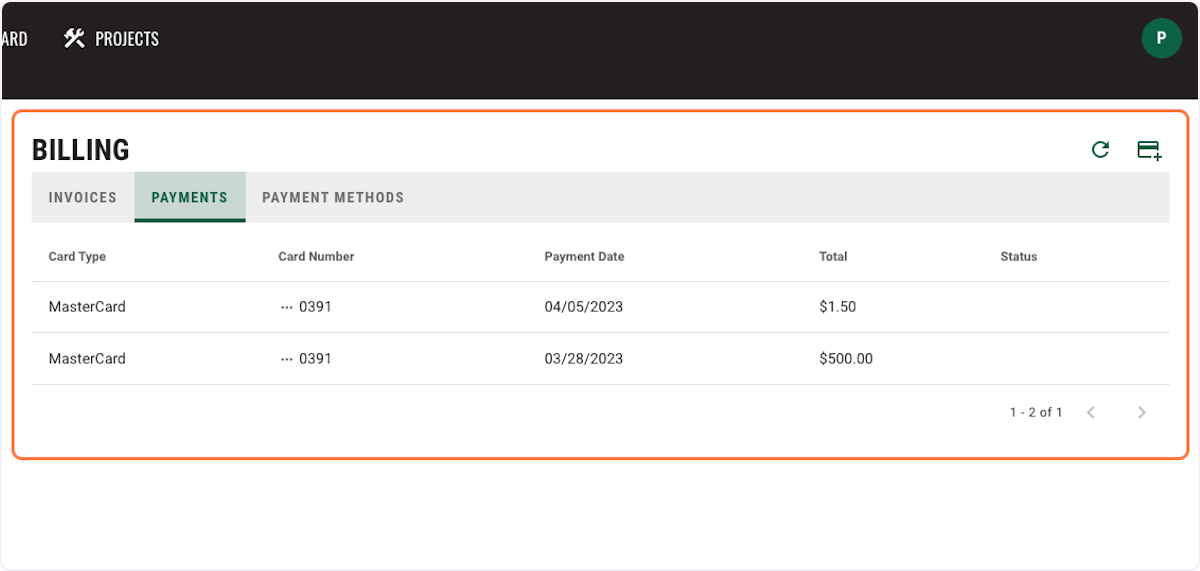
3. You will see three tabs: Invoices, Payments and Payment Methods.
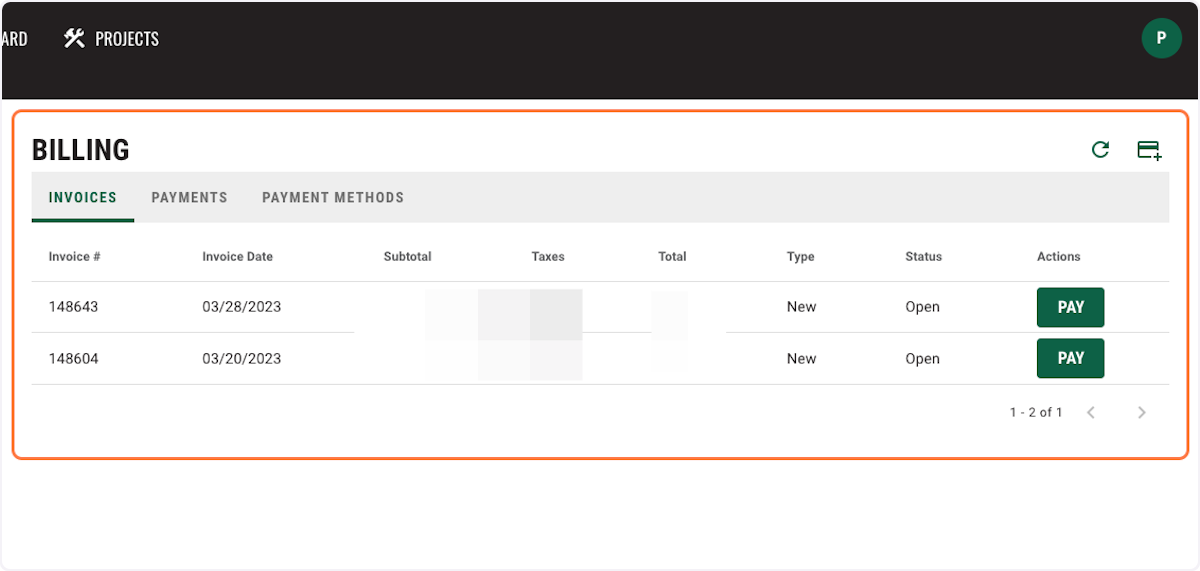
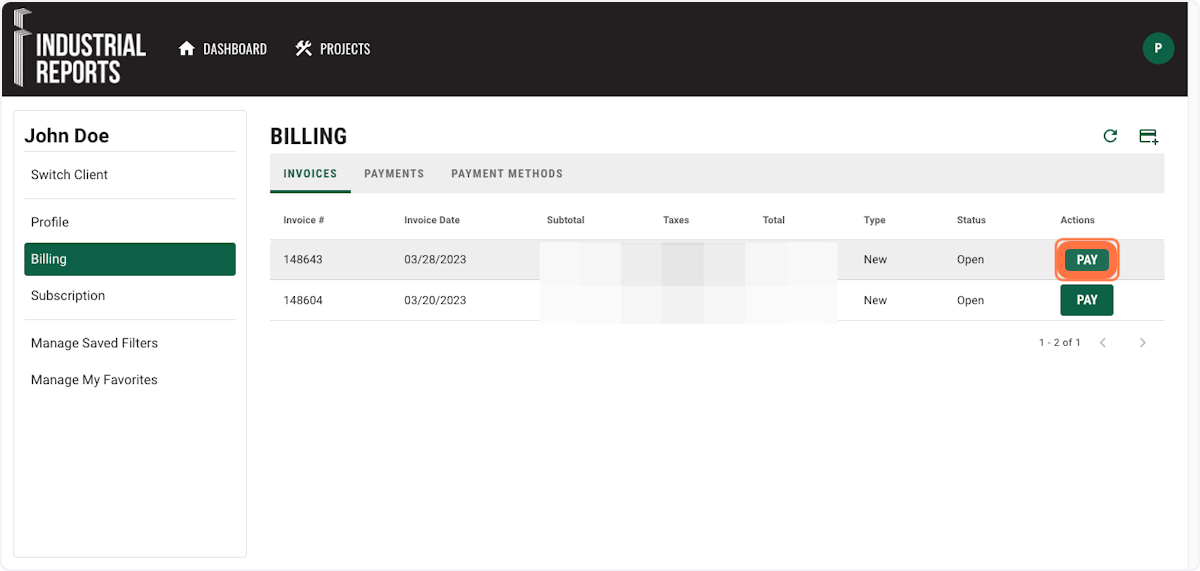
4. Click "PAY" to make a payment.
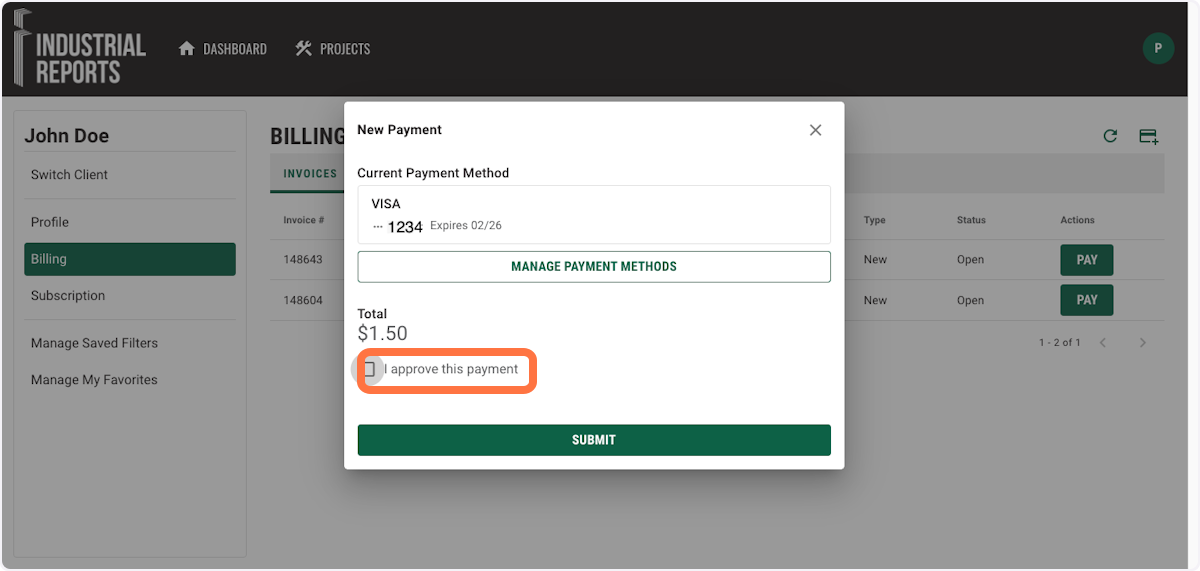
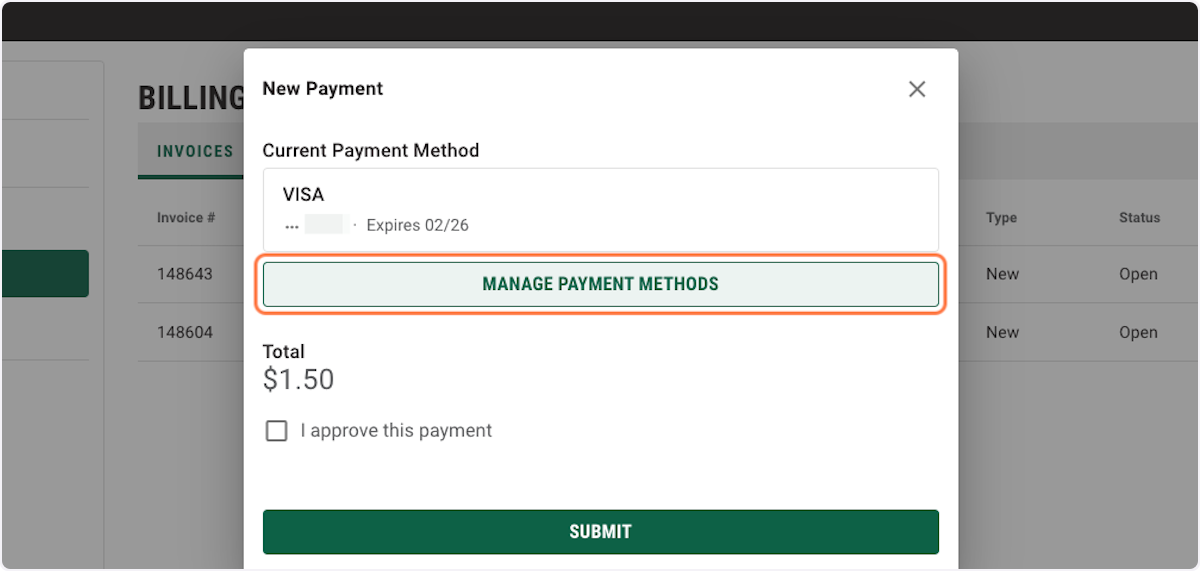
5. A popup window will display the default payment method. You can proceed by checking "I approve this payment" and then click "SUBMIT".
6. You will see the invoice status change to "Paid", and under the payment tab you can see the payment that was just submitted.
7. If you would like to change your payment method, click "MANAGE PAYMENT METHODS".
8. You will see the list of cards on file you are able to choose from.
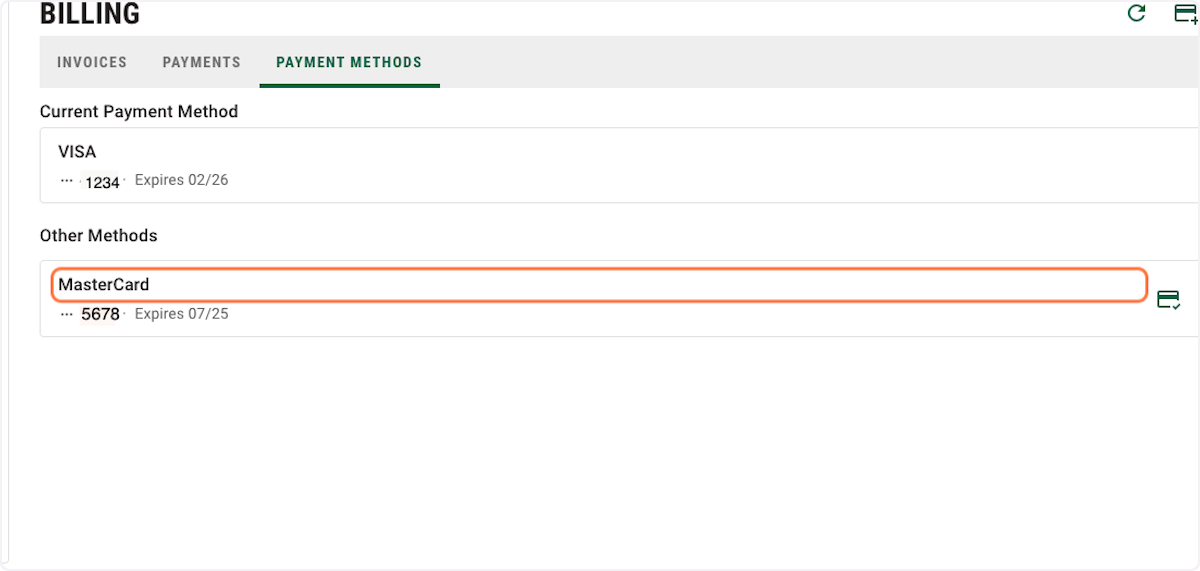
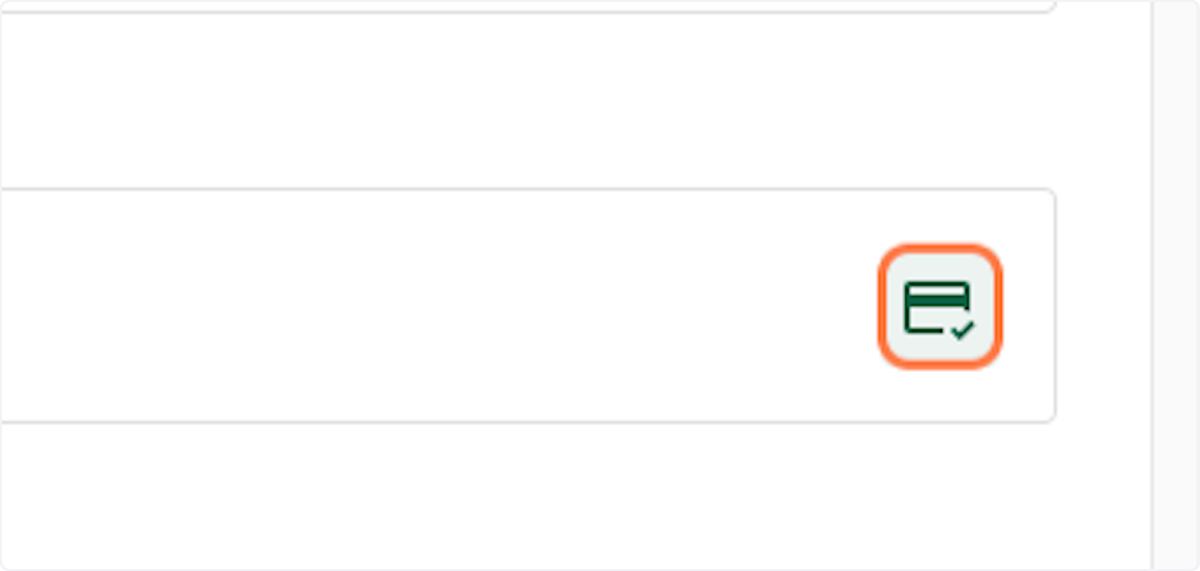
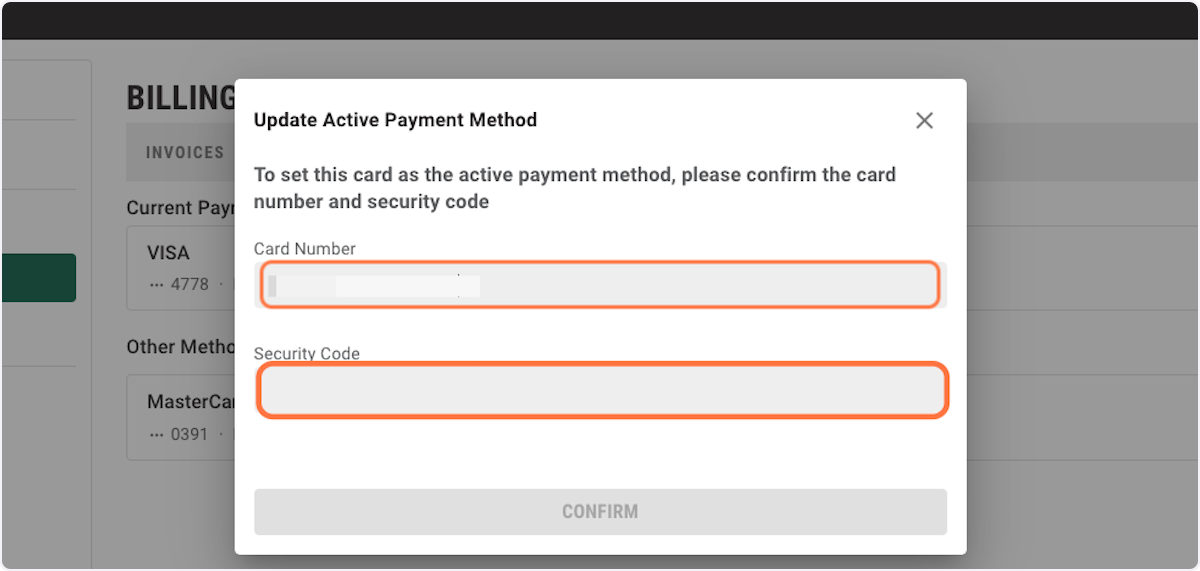
9. If you want to change the default card to another card you have on file, click the icon next to the credit card you want to make the default card.
10. In the popup window enter the card number and security code to confirm the payment method.
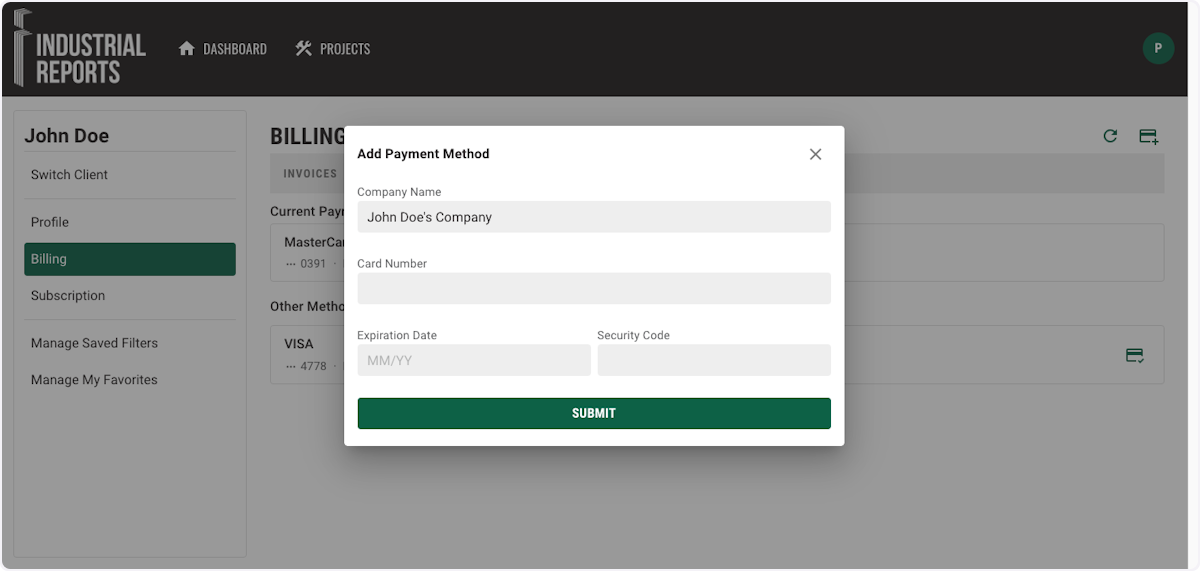
11. If you do not have a payment method stored you can click "Add Payment Method" to add a card.

12. You will be prompted to enter your credit card information. When finished, click "SUBMIT" to save.
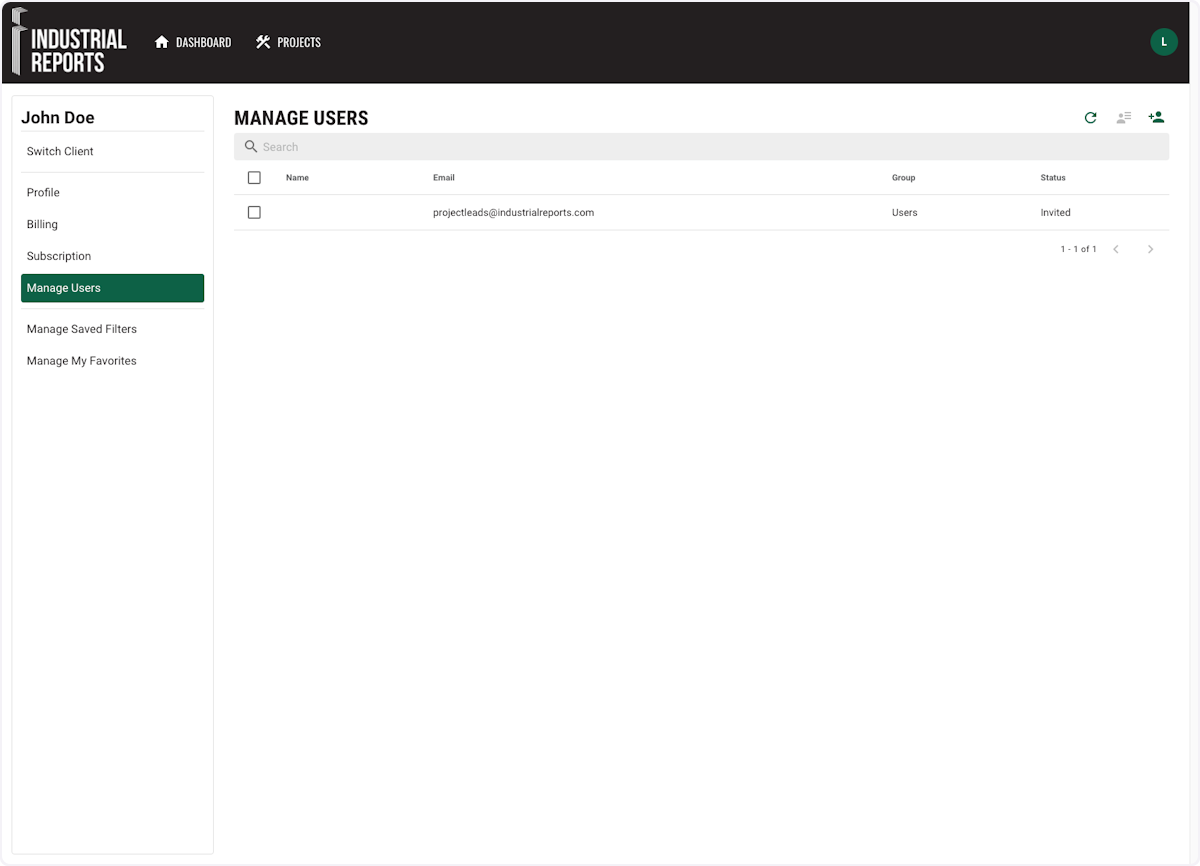
1. Click on the circle in the top right corner of your screen for a dropdown menu. Click "Manage Users" to view all users on your account.

2. From this list you can add and delete users and edit user groups and status.
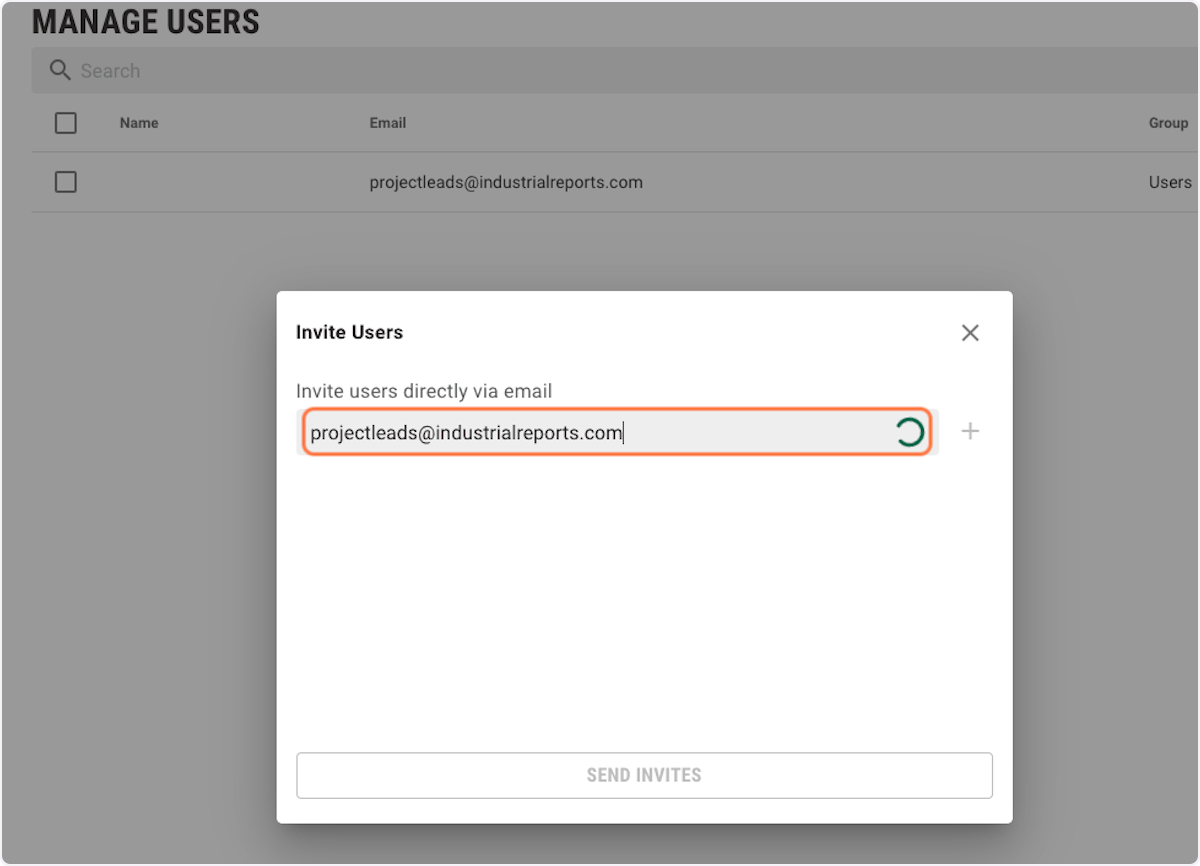
3. To add a user, click on the invite user icon.
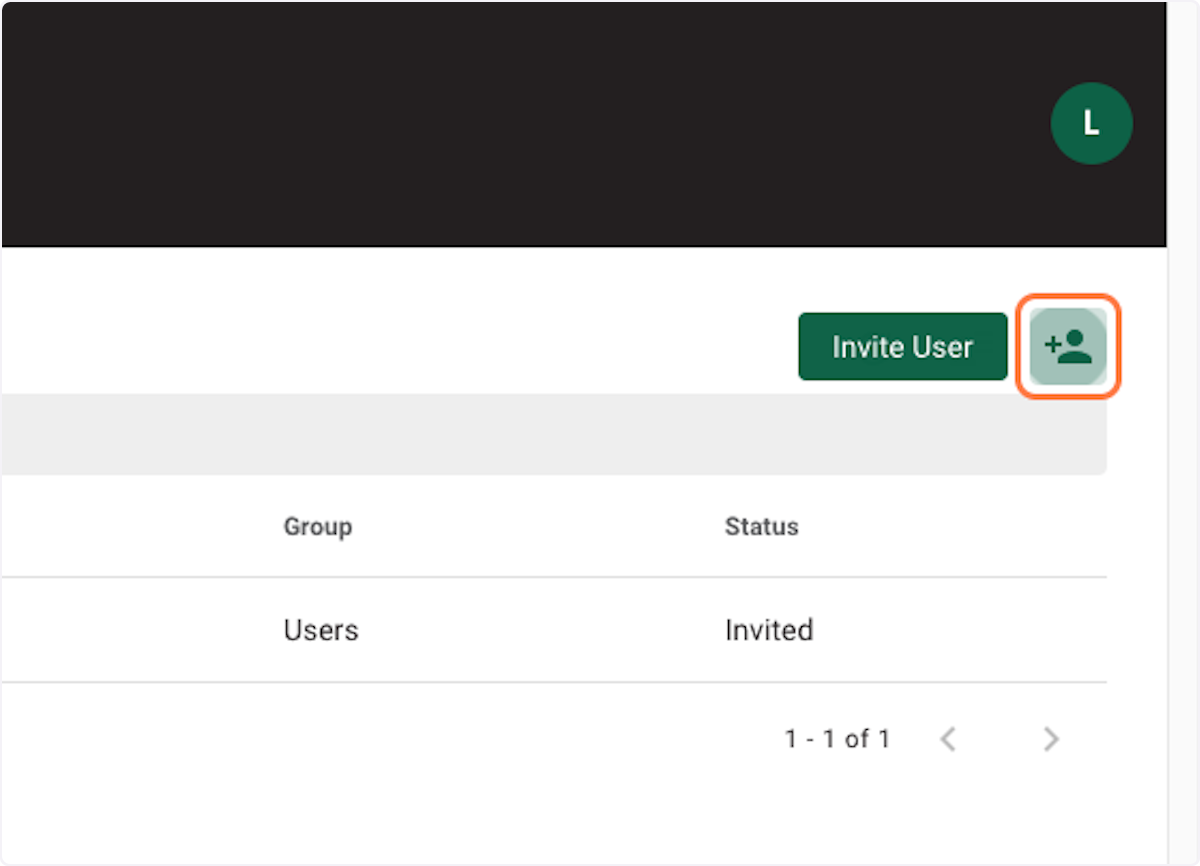
4. Enter the user’s email and click the "+”. Click "SEND INVITES".
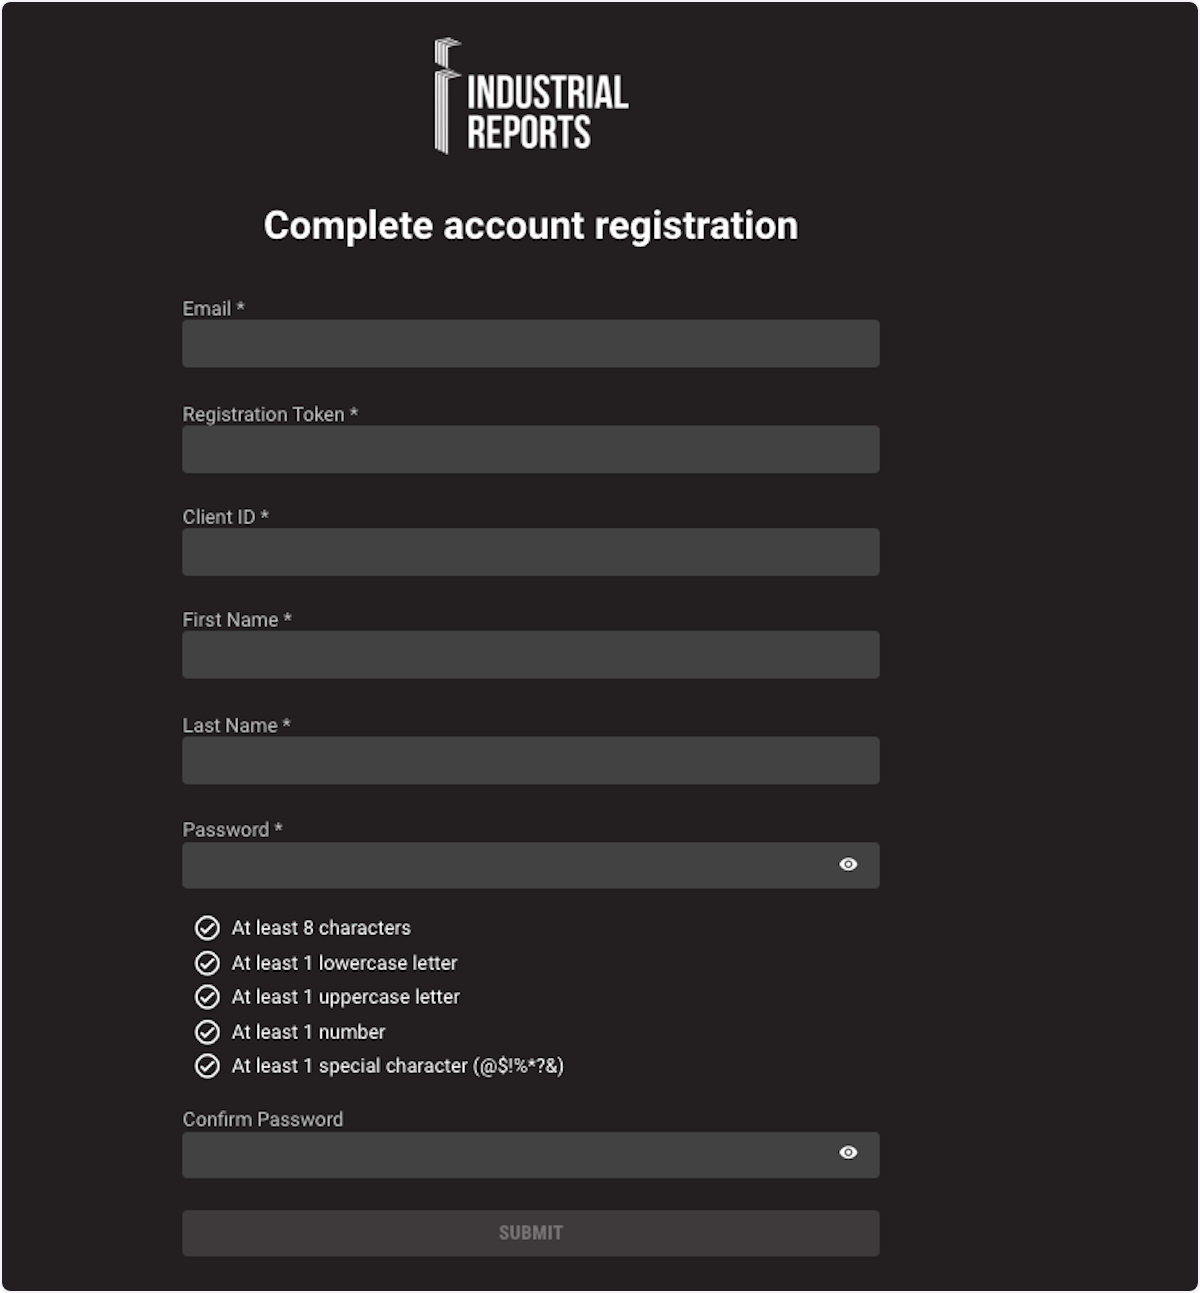
5. The users you invited will receive an email invitation asking them to "COMPLETE REGISTRATION".

6. Invited user will enter Username, Registration Token, Client ID and Password and click submit.
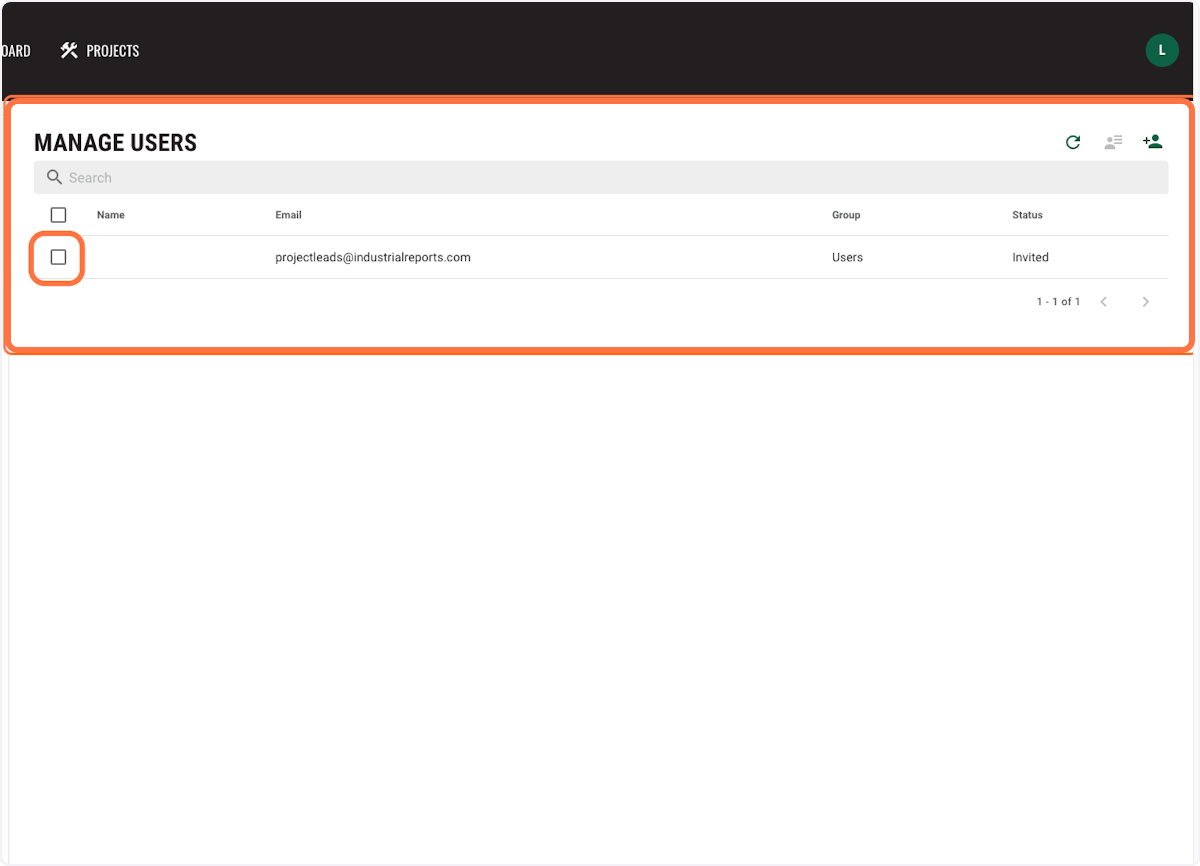
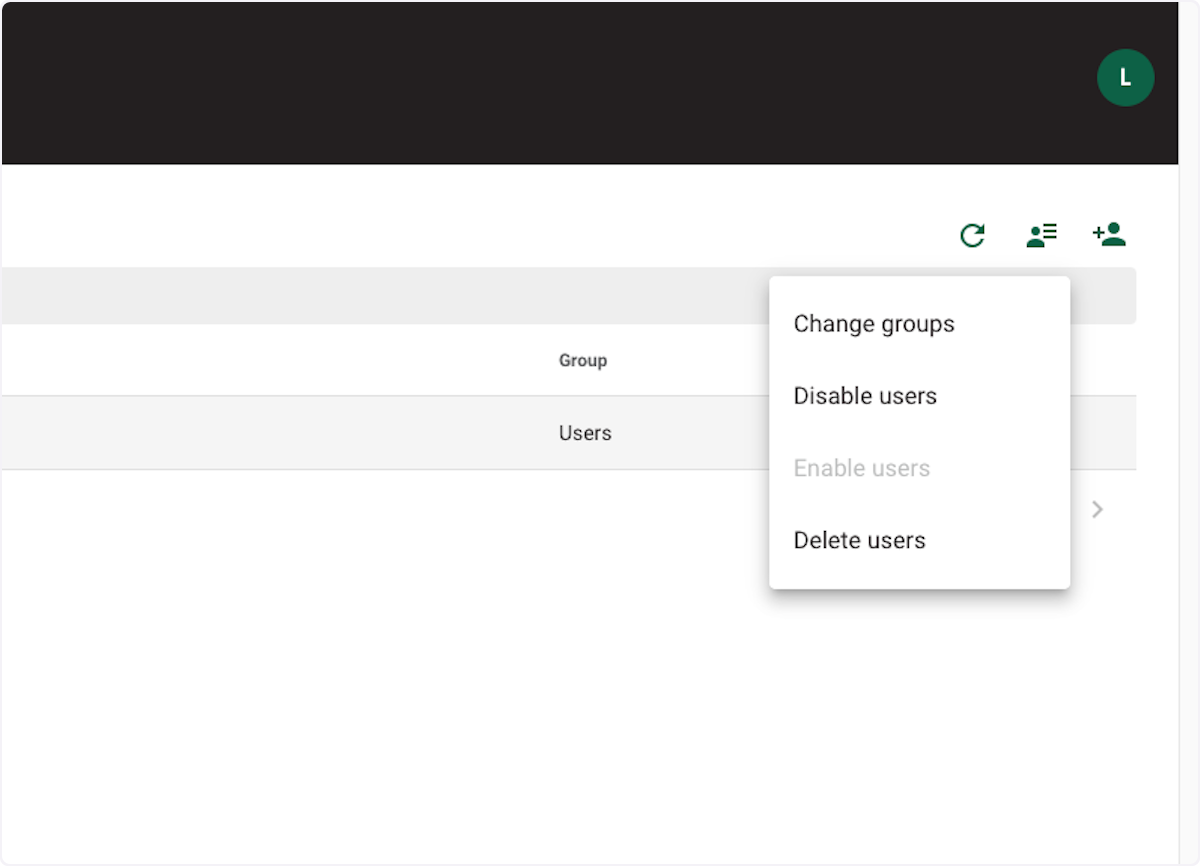
7. To delete or disable a user, check the box next the user(s) you want to change.
8. Then click on the user actions icon.
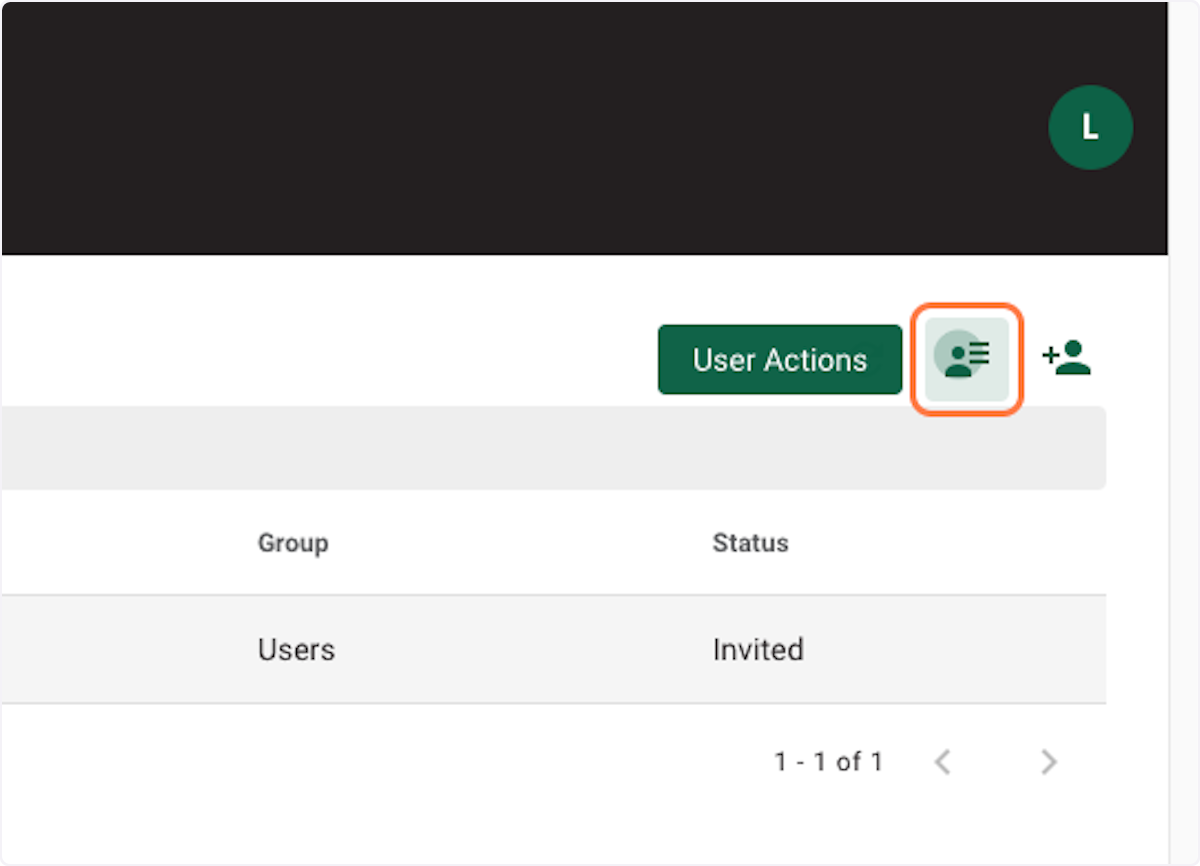
9. A drop down menu will appear and you can disable or delete the user.
If you click on change groups you will be able to change that user from "User" to "Admin". Admin privileges include adding users, paying invoices, managing payments, and receipts.
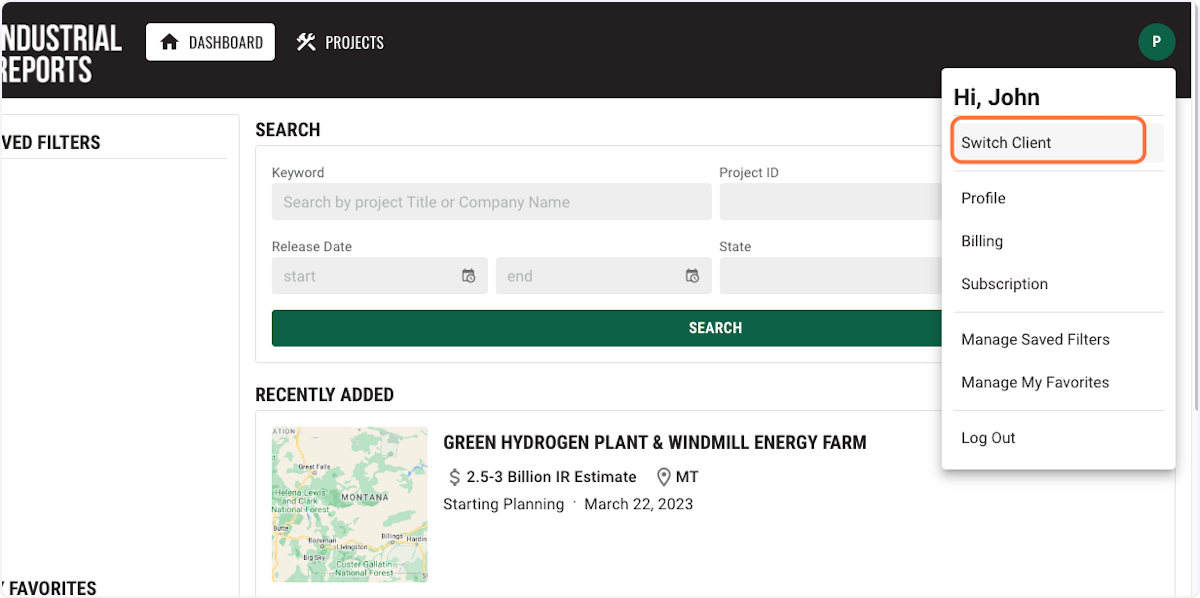
10. If you have more than one active subscription you can view other subscriptions by clicking "switch client" under the Profile dropdown menu.
11. To Log out, Click the green circle and select “Log Out” on the dropdown menu.

Have more questions?
Contact our sales team to get a live demo on the portal.